Chapter 13
Creative Photography Techniques
Turn settings, light, and multiple frames into intentional visual effects.
Plan and complete a photo set whose creative techniques serve a clear idea.
Complete six images using different technique groups, with settings, experiments, and edit decisions recorded.
Lesson 01
Motion, Long Exposure, and Light Trails
Motion is not only a choice between sharp and blurred. Shutter speed controls how long the viewer can “read” an action: freezing reveals form, blur reveals direction and rhythm, and long exposure turns time into smooth layers or luminous lines.
Key takeaways
- Freeze motion often starts around 1/500–1/2000 sec, but the right speed depends on direction, distance, and subject speed.
- Intentional motion blur often falls near 1/5–1/60 sec; deciding which part stays sharp is a separate choice.
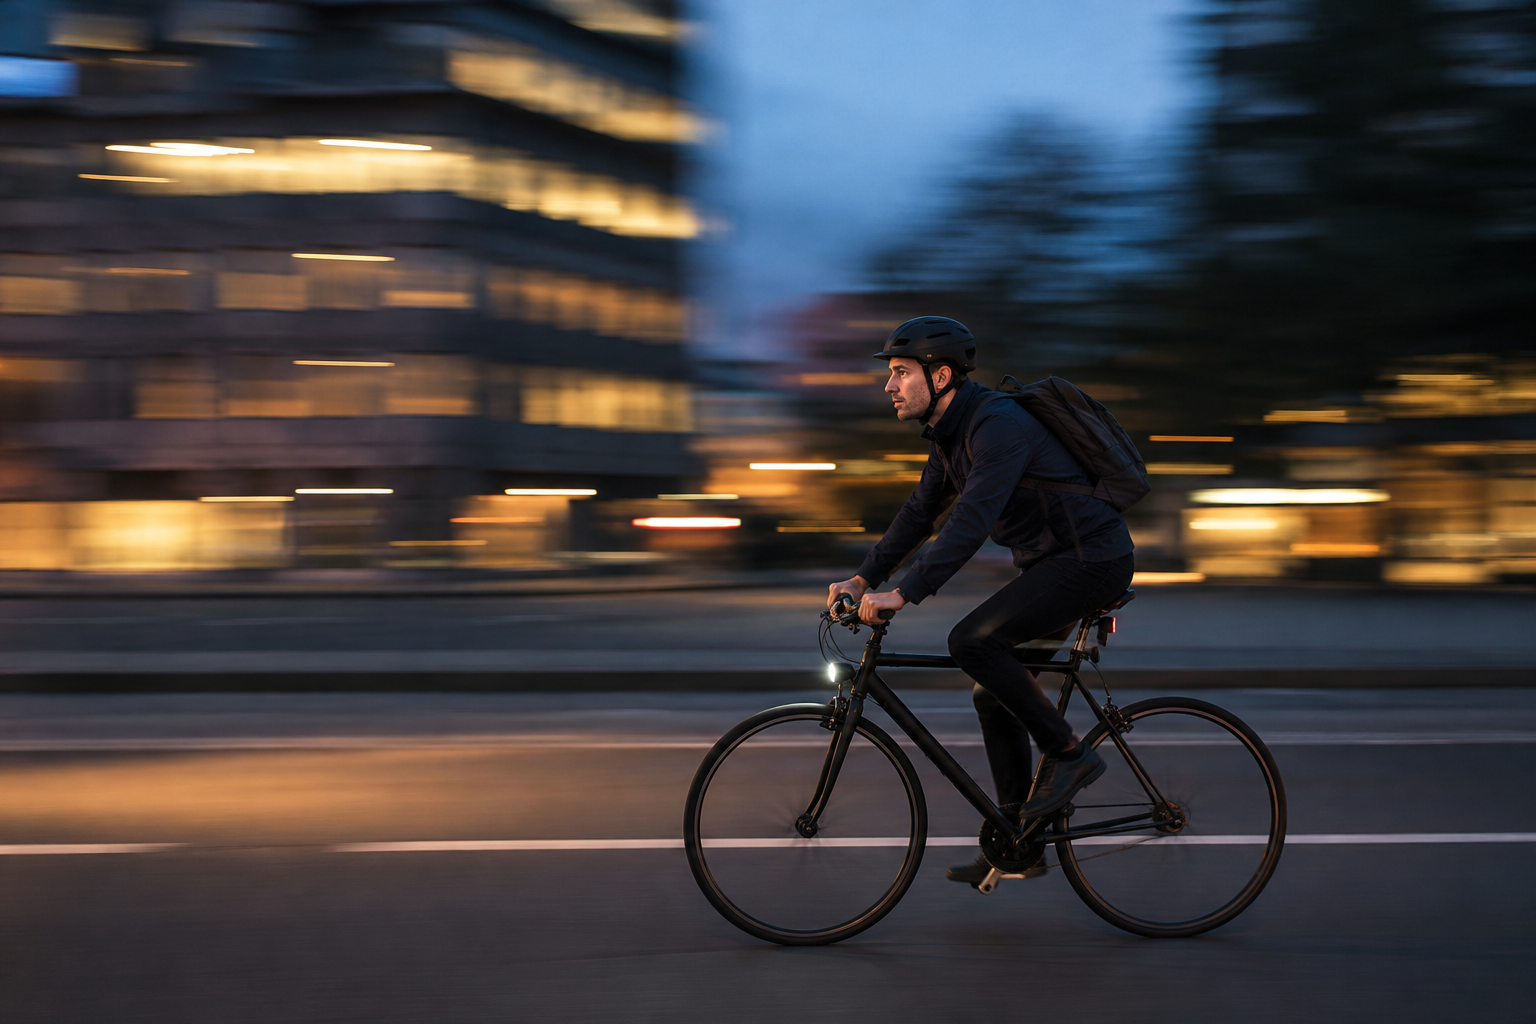
- Panning can begin around 1/15–1/125 sec; follow before, during, and after release.
- Long exposure needs a tripod, seconds to minutes of exposure, low ISO, and awareness of everything moving in the scene.
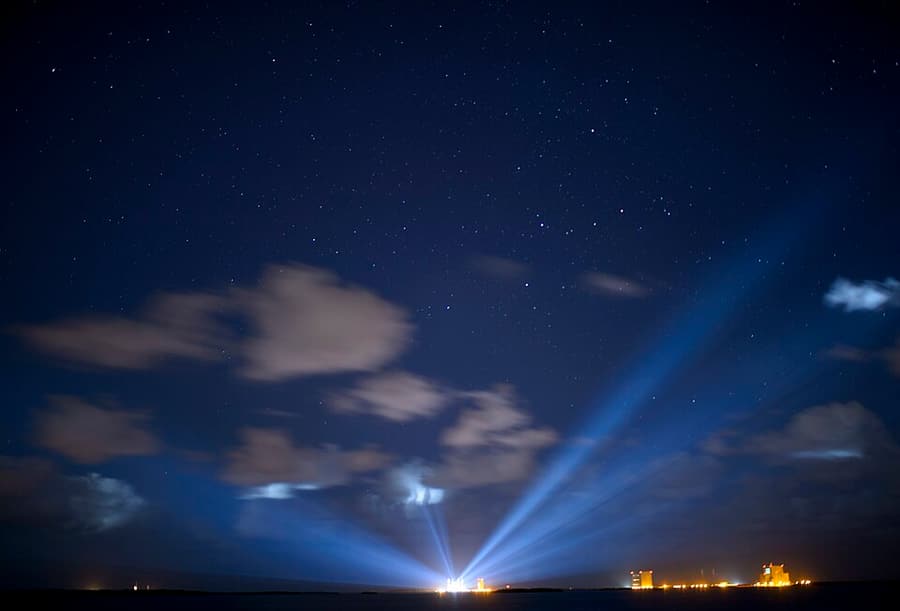
- Light trails often start at ISO 100, f/8, and 5–30 sec; light painting uses a continuously moving light during the exposure.
- ICM and zoom bursts work only when camera or zoom-ring movement has a clear rhythm and the image retains a visual anchor.
- Zoom burst needs an operable zoom ring: put the camera on a tripod, try 1/4–1 second, hold the starting focal length for part of the exposure, then turn smoothly during the rest. Background point lights form radial streaks; align the zoom center with the intended visual anchor.
Practical example
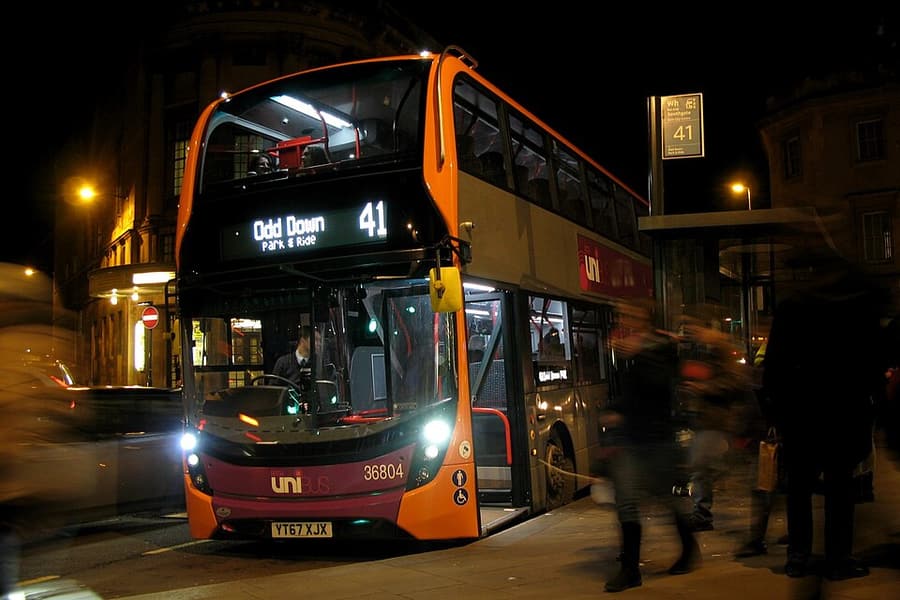
A cyclist can be frozen at 1/1000 sec to show form, or panned at 1/30 sec so the background becomes streaks while the rider remains recognizable. On a night street, start from a tripod at ISO 100, f/8, and 10 sec to test car-trail length; increase time to lengthen trails rather than only brighten the frame. For ICM, sweep vertically through trees at 1/8 sec; for a zoom burst, stabilize the camera and rotate the zoom ring during a 1/4–1 sec exposure. Use these to express speed, memory, or abstraction—not to rescue a composition with no subject. At a stationary illuminated sign, try 1/2 second: hold 35 mm briefly, then turn toward 70 mm. Compared with zooming throughout, the stationary portion leaves a more readable layer of lettering. Disable Auto ISO and adjust aperture if trails clip. A prime lens cannot produce an optical zoom burst.
Common mistakes
- Selecting a fixed shutter number without considering movement direction and focal length.
- Blurring the whole image when the intention was to preserve part of the subject.
- Stopping a pan at release instead of following through.
- Using a tripod but ignoring wind, vibration, stabilization, or a strap striking the camera.
- Pointing a painting light into the lens or holding it still long enough to create clipped hotspots.
Knowledge check
Lesson 02
Creative Light and Tone Control
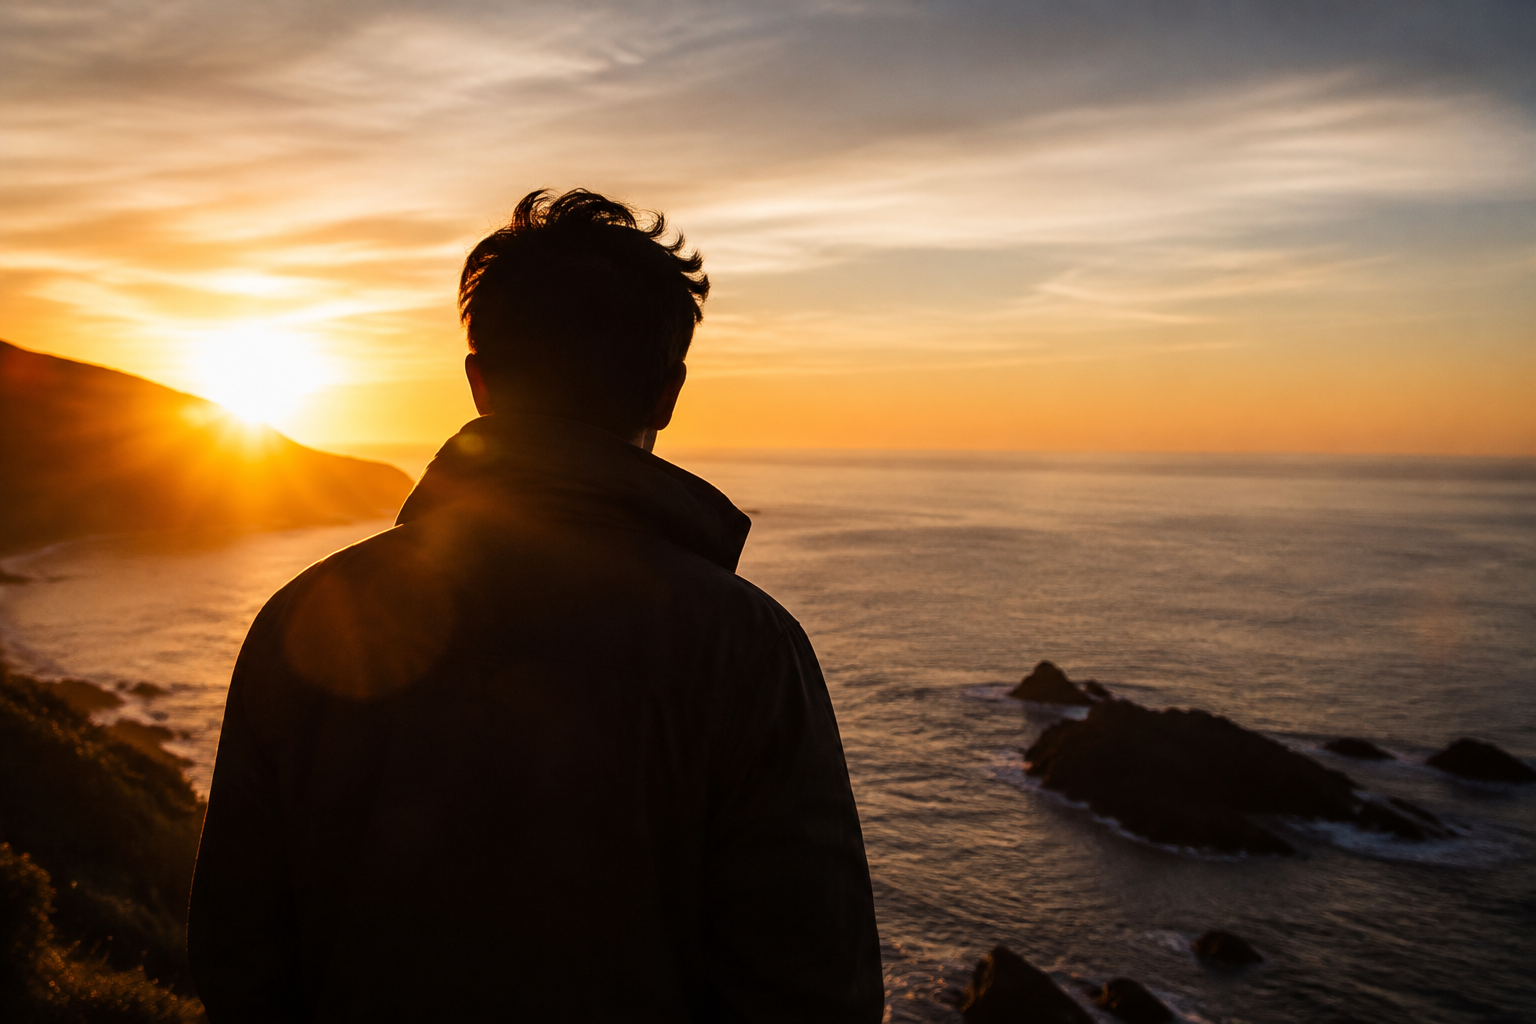
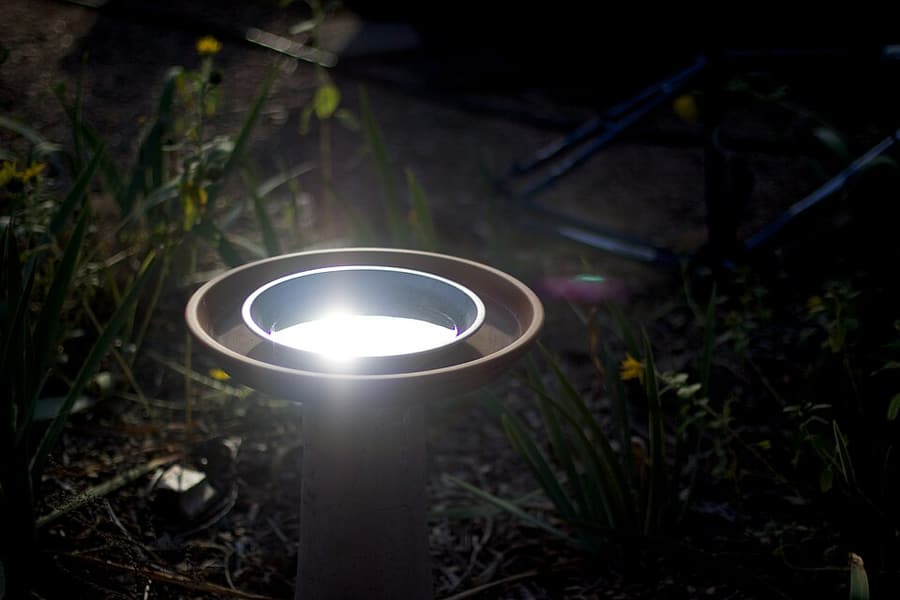
Creative lighting begins by deciding what should be visible and what may remain mysterious. Instead of always recovering shadows, use the source–subject–camera relationship to make silhouettes, separate a subject with rim light, or let flare and a sunstar become part of the story.
Key takeaways
- A silhouette needs a background brighter than the subject: meter the background and do not add front fill.
- Backlight gives three choices: expose for the face, add fill, or make an intentional silhouette.
- Rim light separates a subject only when its bright edge contrasts with the background.
- Sunstars often use f/11–f/16 with a small, partly obscured point source; ray count depends on aperture-blade design.
- Lens flare can feel warm or nostalgic, but move or shade the lens if it loses important contrast.
- Low-key preserves a mostly dark frame with controlled highlights; high-key uses soft bright tone while retaining texture in skin, fabric, and background.

Practical example
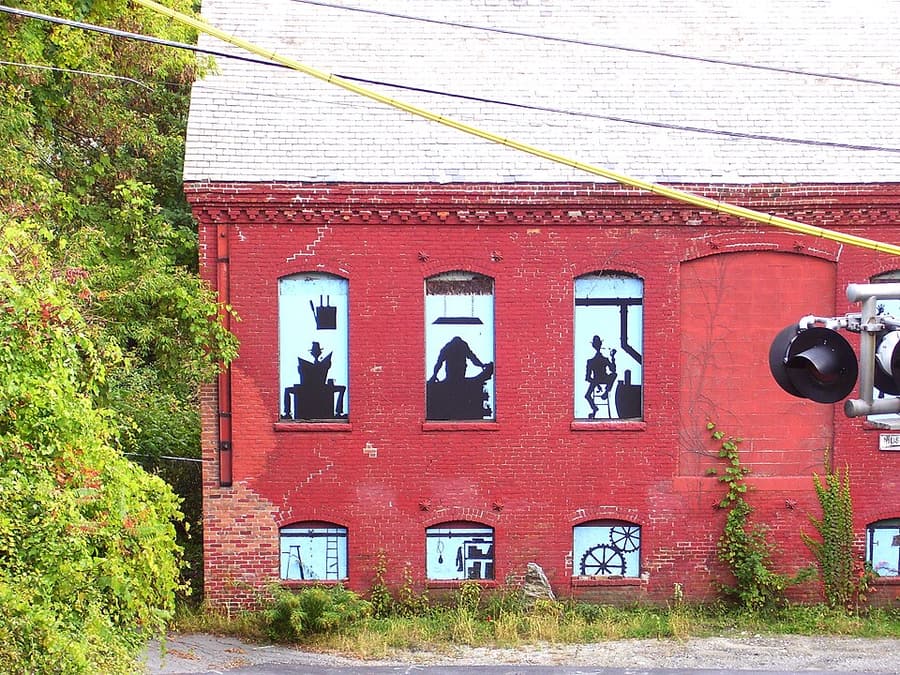
At sunset, separate a person from the horizon, meter the sky, and do not use fill to create a silhouette. Turn the person slightly and the sun may draw a rim around hair and shoulders; add a white reflector only if you need visible eyes. For a sunstar, partly hide the sun behind a building edge or tree and try f/11 before checking the highlights. For low-key indoors, use a dark background and a narrow 45° source. For high-key, use a broad soft source and bright background, exposing carefully so white does not lose all texture.
Common mistakes
- Metering the background but expecting a bright face without fill.
- Making rim light against a bright background where the edge disappears.
- Using a tiny aperture only to force a sunstar, then losing detail to diffraction.
- Confusing accidental flare with a composed flare and not checking important contrast.
- Making high-key into blank clipping or low-key into accidental underexposure.

Knowledge check
Lesson 03
Intentional Focus: From Bokeh to Focus Stacking
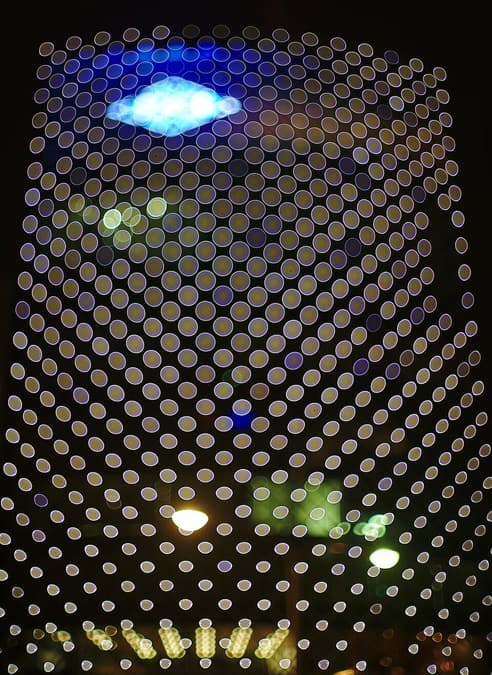
Focus range distributes attention; it is not simply a measure of whether an image is “sharp.” Aperture, focal length, camera distance, and subject-to-background distance all shape focus range. When one frame cannot cover the idea, hyperfocal focus or stacking changes the strategy.

Key takeaways
- Shallow depth of field and strong bokeh combine a wide aperture, near camera position, longer focal length, and distant background.
- Deep depth of field often works better near f/8–f/11 than at the minimum aperture; check diffraction and shutter speed.
- Hyperfocal distance maximizes acceptable sharpness from roughly half that distance to infinity; it does not make every point perfectly sharp.
- Focus stacking merges overlapping focus planes; camera, exposure, white balance, and subject must be stable.
- Focus bracketing automates focus movement, but you still choose a range and increment that leave no gap.
- Focus and recompose suits still scenes and moderate depth of field; at close range with a wide aperture, place the AF point directly on the eye or main detail.
Practical example
A portrait at f/1.8 with a distant background can isolate a subject in bokeh, but focus must land on the near eye. For a landscape with a rock at 0.5 m and distant mountains, f/16 may still be inferior because of diffraction; focus near, middle, and far frames then stack them instead. If you focus centrally and rotate the eye to a thirds position at close distance, the focus plane can miss it. Compare this method with direct AF-point placement to see when the quicker method remains safe.

Common mistakes
- Equating bokeh with maximum aperture while ignoring a near or cluttered background.
- Stopping down to f/16–f/22 for deep depth without checking diffraction and shake.
- Applying the one-third focus rule instead of estimating actual distances.
- Leaving focus-stack gaps or allowing leaves, insects, water, or the subject to move.
- Using focus and recompose with a near subject, telephoto lens, and wide aperture, then blaming the lens.

Knowledge check
Lesson 04
HDR, Panoramas, and Multiple-Frame Techniques
Multiple frames matter only when one frame cannot record or express what you need: a range of light that is too large, an angle of view that is too narrow, a focus range that is too thin, or two moments that should coexist. Lock the variables that must remain consistent before the first frame.
Key takeaways
- HDR/exposure bracketing often starts at -2 / 0 / +2 EV; keep aperture, white balance, focus, and camera position fixed.
- Exposure blending uses masks to take the right sky, land, or lights from different frames; aim for a natural image, not medium gray everywhere.
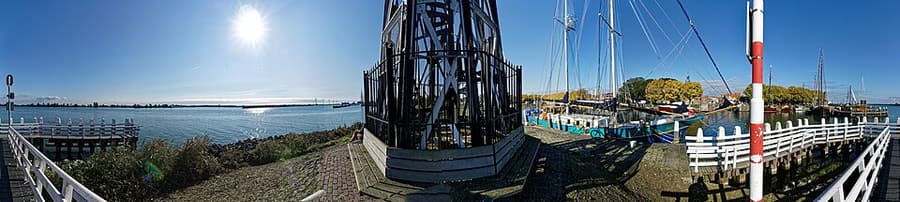
- A panorama needs roughly 30–50% overlap, locked exposure and white balance, and a smooth turn from one position.
- A vertorama is a vertical panorama, useful for including foreground plus a tall building or peak without an extremely wide lens.
- Multiple exposure can be made in-camera or in post; decide which bright areas of one frame will receive content from the next.
- Moving subjects, leaves, waves, and people create ghosting and merge errors that software cannot perfectly solve.
Practical example
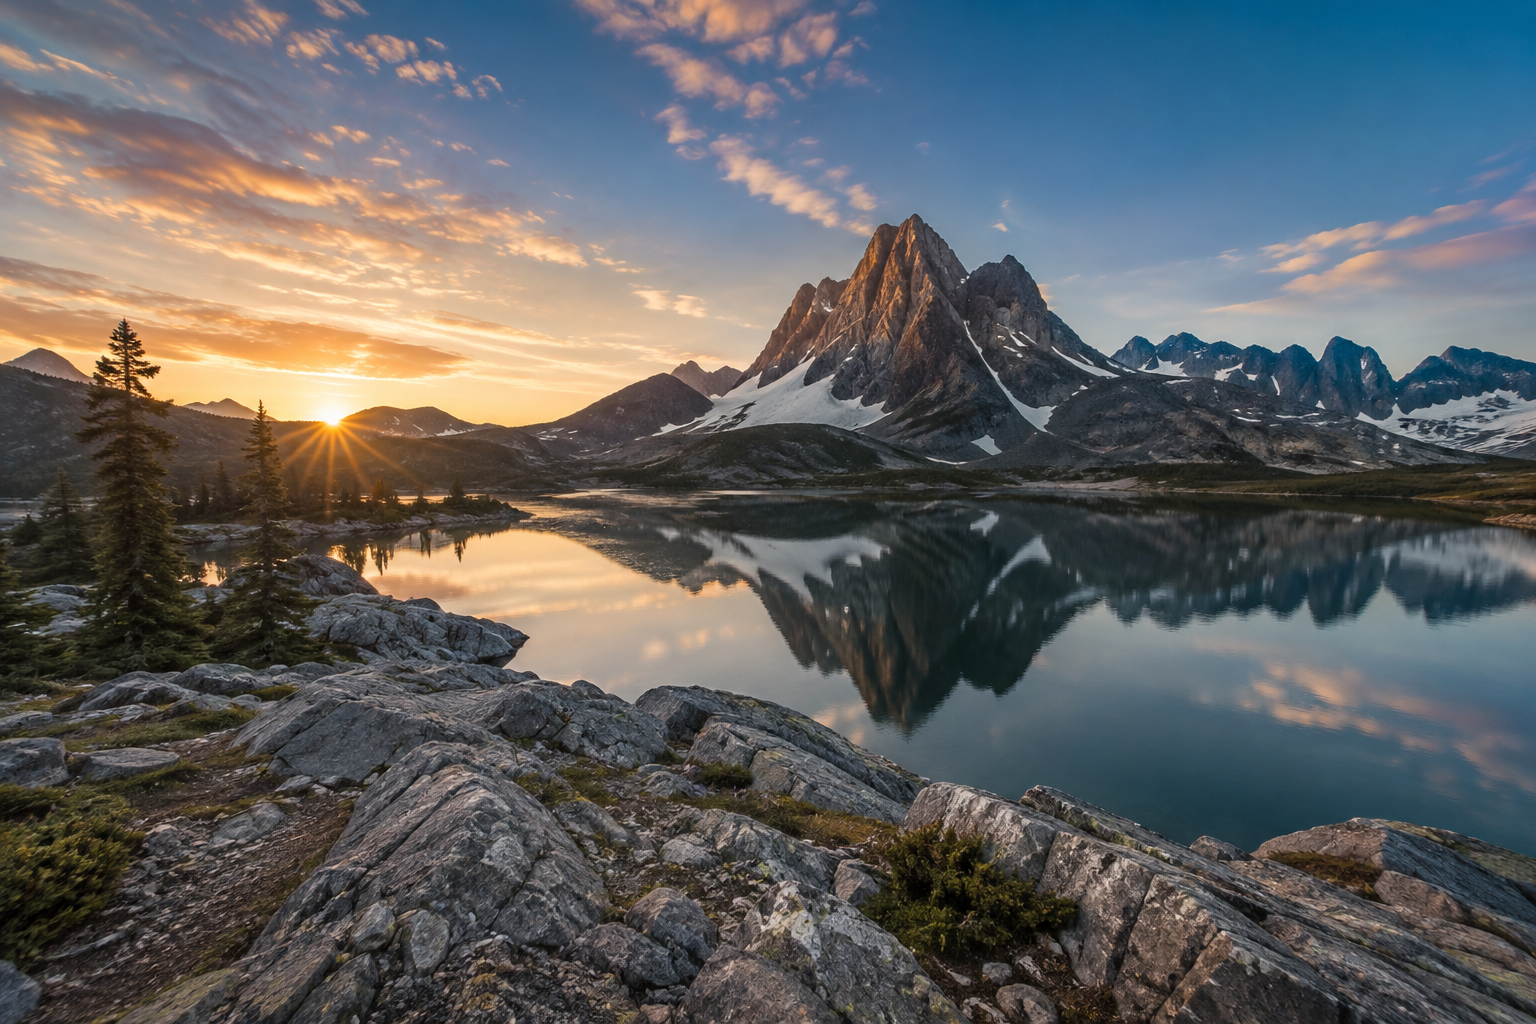
For dawn with a bright sky and dark rocks, make a -2 / 0 / +2 EV tripod series. Use a mask to retain sky from the darker frame and foreground from the brighter frame; do not lift shadows to flat gray without a visual reason. For a panorama, turn the camera in vertical orientation with almost half a frame of overlap. If a mountain needs both foreground rocks and its summit, a two- or three-frame vertorama often preserves a more natural perspective than one ultra-wide frame. Start multiple exposure with silhouette and texture so the two layers can read clearly.
Common mistakes
- Changing white balance or aperture through a bracket series, creating color or focus-range mismatch.
- Leaving too little panorama overlap or using very near foreground that causes strong parallax.
- Overdoing HDR until halos appear and the atmosphere disappears.
- Merging moving detail, then treating ghosting as solely a post-processing fault.
- Layering two equally busy exposures with no main subject.
Knowledge check
Lesson 05
Creative Flash and Motion Synchronization
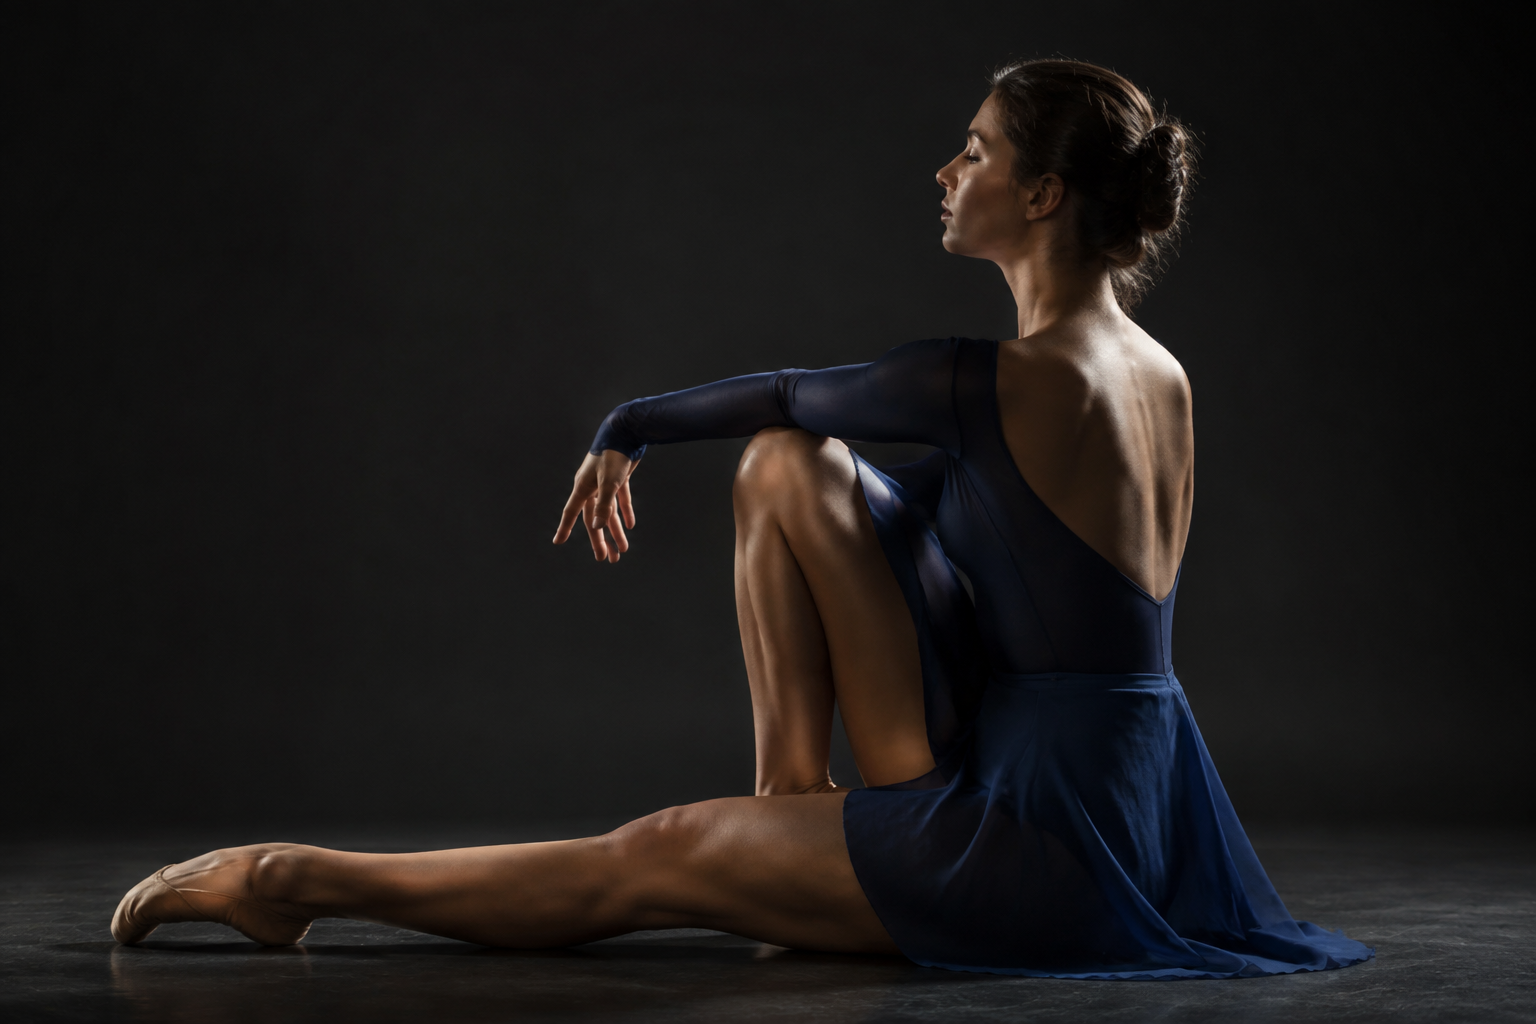
Flash does more than brighten a scene. Within the sync limit it separates ambient brightness from subject brightness, freezes a moment, or creates a direction of light unavailable from the natural scene.
Key takeaways
- Outdoor fill flash should lift shadows only enough for the natural source to remain visually primary.
- Bounce flash from a neutral wall or ceiling makes that surface a larger, softer source than direct flash.
- Off-camera flash at 45° or behind the subject creates form, texture, and rim light; secure stands and keep walkways clear.
- Slow sync combines flash with a slow shutter to retain ambient light and motion trails, often for night portraiture.
- Rear-curtain sync fires at the end of exposure, recording the subject sharp at the end of the trail for more natural movement direction.
- Flash power, aperture, and ISO shape flash exposure; shutter speed mainly changes ambient exposure when within sync speed.
- TTL Flash measures through the lens to calculate automatic output, commonly using a metering preflash. It helps as distance changes. Use Flash Compensation to adjust flash brightness; ambient and flash exposure compensation may interact according to camera settings.
- HSS Flash permits shutter speeds above normal sync when camera, flash, and trigger all support it. Effective reach falls and recycling demands increase. HSS does not mean an extremely short flash pulse that freezes all movement.
- The original Sony A7C normally syncs flash up to 1/160 second; disable Silent Shooting for flash use. Do not apply that number to the A7C II or other bodies. Without HSS, return to sync speed and stop down or use ND to retain a wide aperture outdoors.
- High-speed photography can use a fast shutter under continuous light or a short flash pulse in a dark environment. Many IGBT speedlights shorten their pulse at lower output; check the flash’s t.1 duration rather than inferring it from fps or an HSS label.
Practical example
In harsh sun, gentle fill flash can keep eyes from falling into shadow without erasing the sun's direction. Indoors, bouncing flash from a white side wall creates softer side shadow than a high ceiling or direct flash. On a night street, start around 1/15 sec, ISO 400–800, and low flash power. Compare front- and rear-curtain sync while a person passes a sign: rear-curtain generally places the sharp person at the end of the trail, while front-curtain may let the trail run ahead. For an outdoor portrait at f/2 that needs 1/1000 second, use HSS on a compatible system or ND to return to sync speed. TTL adjusts output as the person moves; reduce Flash Compensation if the face is too bright. In a dark room, a falling object can be frozen at sync speed by a short flash pulse if ambient contribution is sufficiently low. A test without flash should look nearly dark to avoid a movement ghost.
Common mistakes
- Raising flash until it erases ambient light and the sense of place.
- Bouncing from a colored wall or very high ceiling without checking color cast and lost output.
- Placing flash off-camera without diffusion and creating hard skin hotspots.
- Handholding slow sync too slowly so both ambient scene and subject blur unintentionally.
- Forgetting sync speed or leaving a light stand where someone can trip.
- Treating TTL as a sync mode or confusing HSS with freezing movement using a short flash pulse
- Enabling Silent Shooting, exceeding sync without supported HSS, or firing before the flash has recycled
Knowledge check
Lesson 06
Visual Devices: Frames, Reflections, and Perspective
These three devices change how viewers understand space without complex gear. Foreground can invite the eye in, reflection can make order or a second layer of meaning, and forced perspective uses one precise viewpoint to deceive scale.
Key takeaways
- Foreground framing uses a doorway, branch, near object, or opening to lead toward the subject; it must not hide essential information.
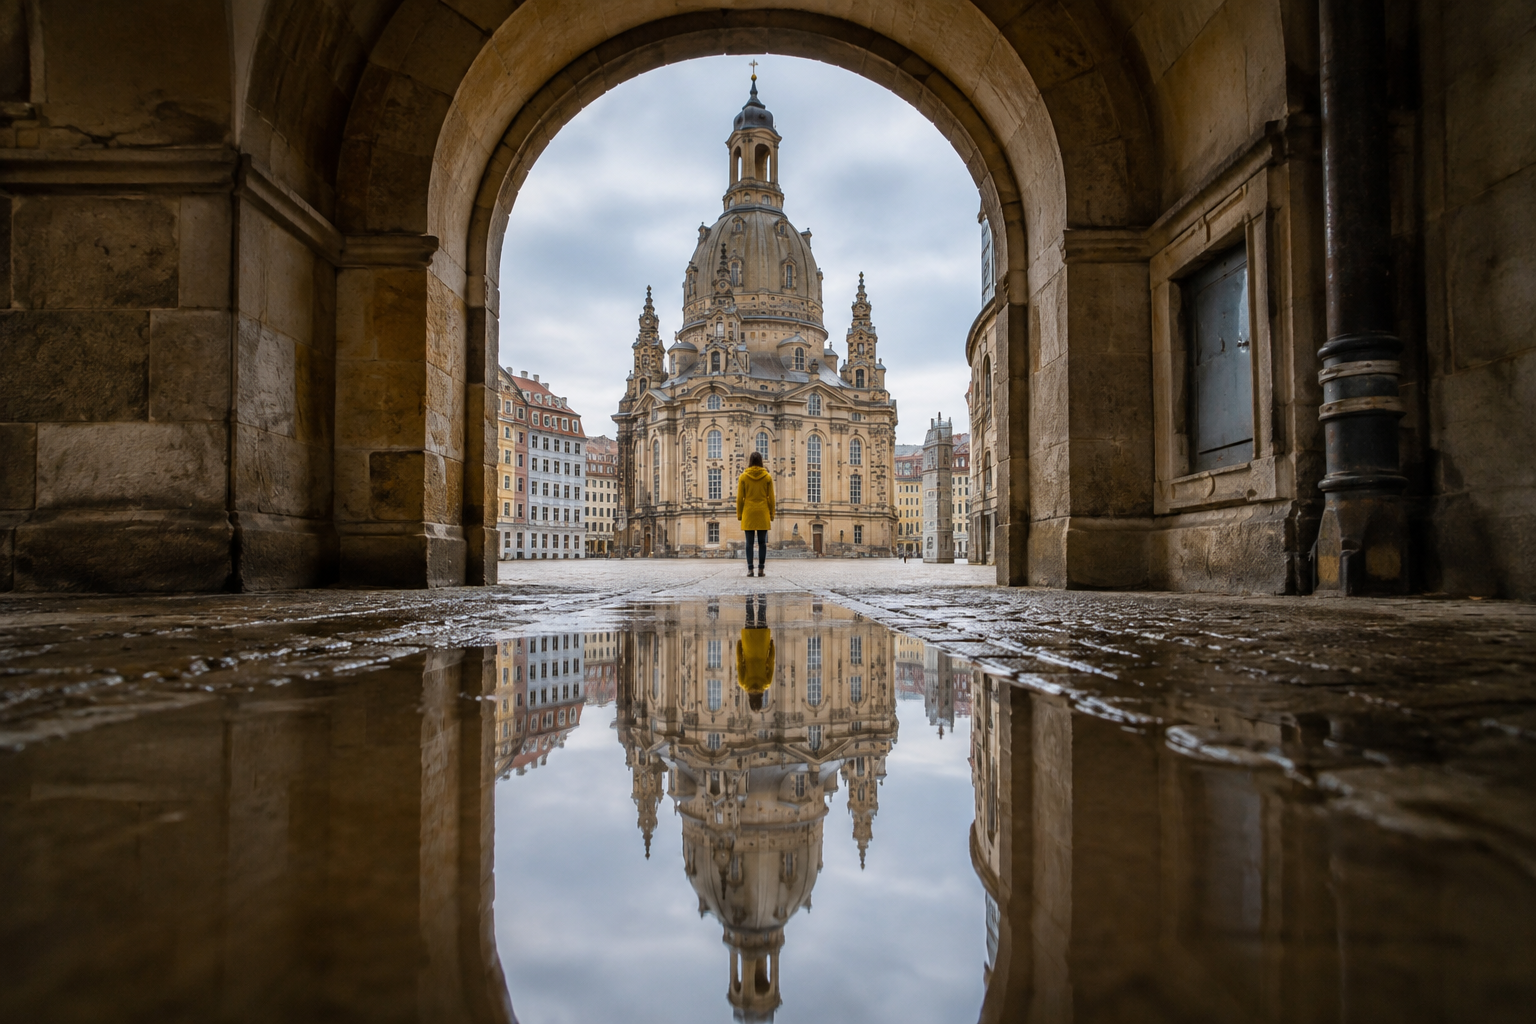
- Reflections in water, glass, or mirrors need an intentional symmetry line, ripple level, and clear decision about what is real or reflected.
- Forced perspective comes from viewpoint and viewing axis, not merely a different lens; lock camera position and adjust subjects by centimeters.
- Wide lenses with near foreground exaggerate distance, while standing farther away with a telephoto lens makes layers appear closer.
- Avoid accidental tangencies: an arch edge, branch, or reflection can cut into the subject or merge it with the background.
- Keep a device only when it clarifies meaning or eye rhythm, not because a viewer has to decode a trick.
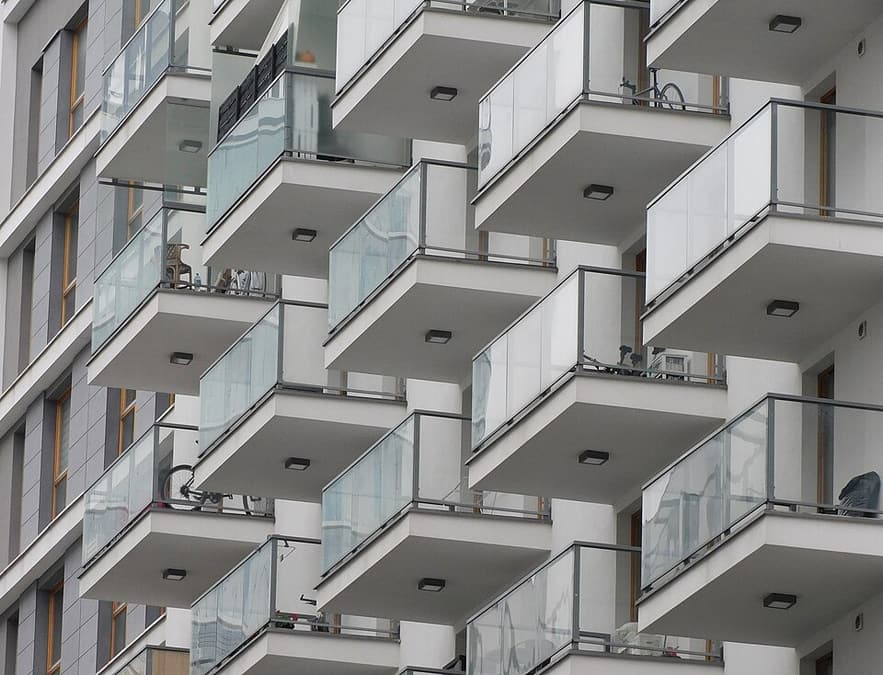
- Shadow photography makes the cast shadow the subject: find a small/hard source, choose a clean receiving surface, and move until the shadow reads. A cast shadow relates to an object outside or inside the frame; a silhouette is the dark object itself against a bright background.
- For reflections, lower the camera near the water to increase reflected space, change angle to hide yourself, and decide whether to retain the real/reflected boundary. A CPL can remove a reflection you want, so rotate and inspect before shooting.
Practical example
Stand inside an archway, place a person in its opening, and lower the camera near a puddle so the arch creates foreground framing while water creates a reflection. Move the camera a few centimeters until the head does not merge with a roofline or arch edge. For forced perspective, place a small object close to the lens and a person farther away on the same viewing axis, making them appear to hold the sun or touch a building. Lock camera position first; zooming without viewpoint control cannot hold a consistent scale illusion. In afternoon sidelight, place a chair beside a sunlit wall. Include chair and shadow to explain their relationship, then frame only the shadow for an abstract shape. Meter the lit surface and adjust to retain its color; avoid accidental edge tangencies. For forced perspective, place a small object close and a person farther away, align their edges on screen, and stop down enough for both to read.
Common mistakes
- Using foreground that is too bright or large and swallows the subject.
- Running a reflection line through a face, feet, or detail that needs to read clearly.
- Forcing perfect symmetry in rippled water rather than considering whether imperfection is more interesting.
- Moving the camera while aligning forced perspective, so objects no longer overlap on axis.
- Treating telephoto compression as an automatic lens effect rather than a consequence of viewpoint.