Chapter 10
Visual Storytelling
Turn individual photographs into a story with structure and rhythm.
Edit a short photo essay with a clear opening, development, and ending.
Tell a local story in 8–12 photographs using wide, medium, close, and detail views.
Lesson 01
Defining Theme and Message
Theme is what a story explores. A central question turns that broad subject into an inquiry. Message is the provisional idea you want viewers to consider or feel. Keeping these layers separate prevents a broad noun from being mistaken for a complete story. Treat the initial message as a hypothesis, not a conclusion that reality must prove. Photographs, observation, and participant voices may change the question. Record surprises instead of forcing evidence into a predetermined claim.
Key takeaways
- Narrow scope by person, place, activity, or period
- Write an open central question rather than a slogan
- Identify the intended viewer and why the story matters now
- Separate what you know, what you assume, and what must be verified
- Allow field evidence to revise the message
- Define ethical boundaries and who could be harmed by publication

Practical example
Replace the broad theme “the market” with “How do vendors prepare to end the day?” That question suggests packing goods, late customers, account books, emptying aisles, and journeys home. If observation reveals that passing the business to a younger generation is more important, revise the project rather than ignoring it.
Common mistakes
- Choosing a theme so broad that any photograph could belong
- Writing a moral slogan without detail or contradiction
- Imposing a ready-made message on participants
- Selecting a subject that cannot be revisited within available time
- Hiding the photographer's viewpoint and limits of knowledge
Knowledge check
Lesson 02
Opening, Wide, Medium, Close, and Detail Photographs
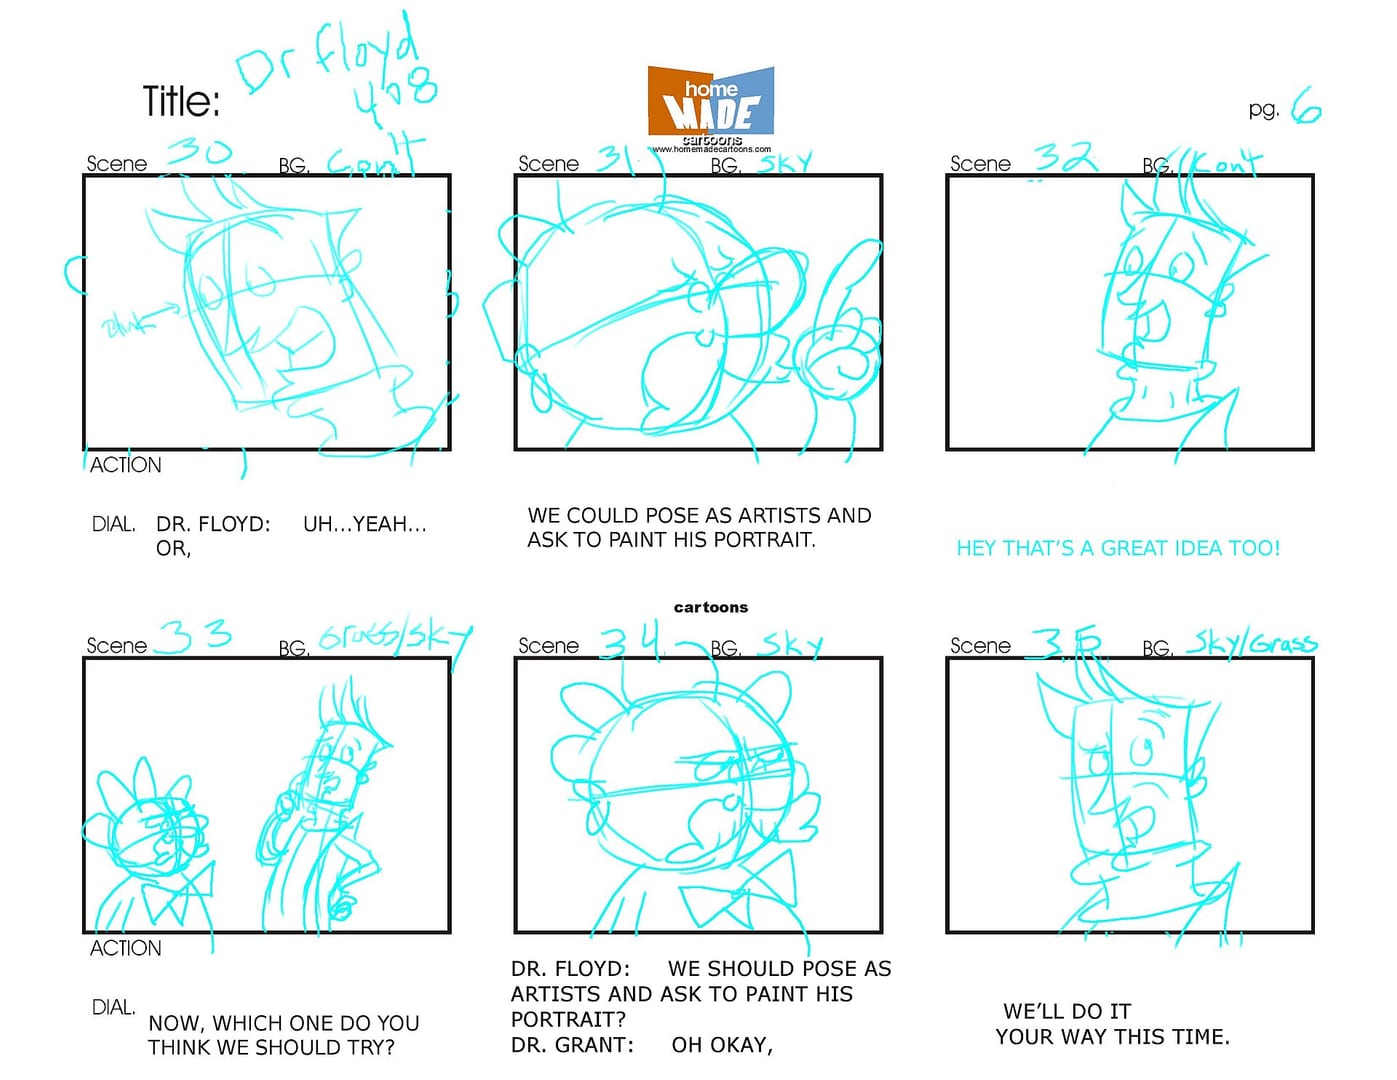
Shot scale is the grammar of visual rhythm. A wide image answers “where”; a medium image shows who is doing what; a close image brings the viewer near emotion; a detail provides evidence, motif, or pause. Transitions connect time and place, while an ending closes or leaves a final question. Variety means more than zooming. Change physical distance, viewpoint, relationship, and information. A cropped wide frame does not replace the intimacy created by standing close with purpose.
Key takeaways
- Do not tell an entire story from one distance
- Every selected frame should add information or emotional function
- Photograph action, anticipation, and consequence
- A beautiful detail belongs only when it connects to the subject
- Balance informative frames with emotional frames
- Look deliberately for transitions and more than one possible ending
Practical example
A bakery story may use the storefront to open, a wide kitchen, medium kneading action, close portrait, flour-covered hands, a tray moving to the counter, and the oven being switched off as an ending. A decorative flower may be attractive but irrelevant if it adds nothing to the work.

Common mistakes
- Making every image a wide establishing view
- Zooming from one position and producing repetitive visual distance
- Photographing checklist objects without meaningful moments
- Including details that look good but add no information
- Forgetting transitions and creating confusing jumps in place or time
Knowledge check
Lesson 03
Building a Photo Essay or Series
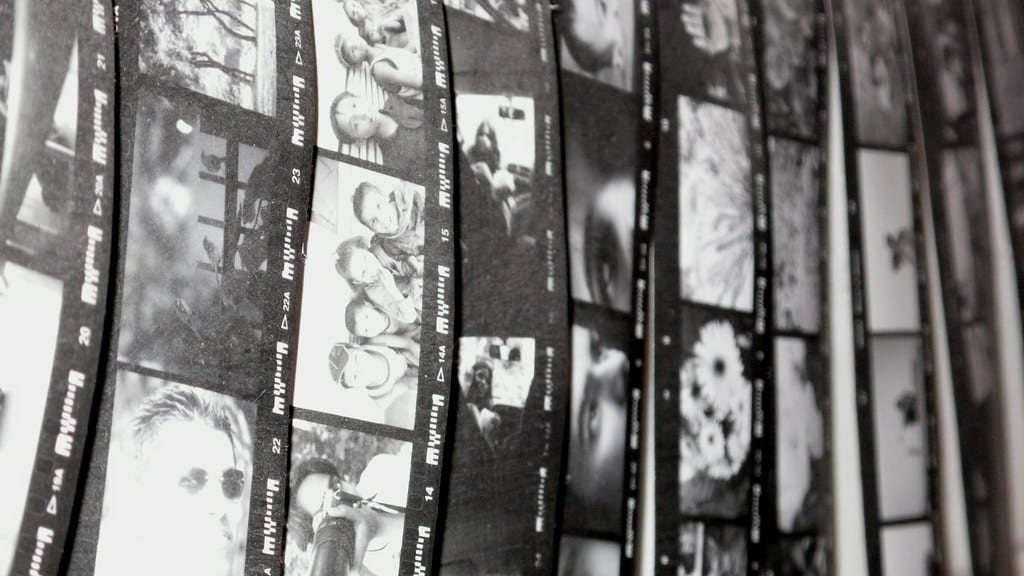
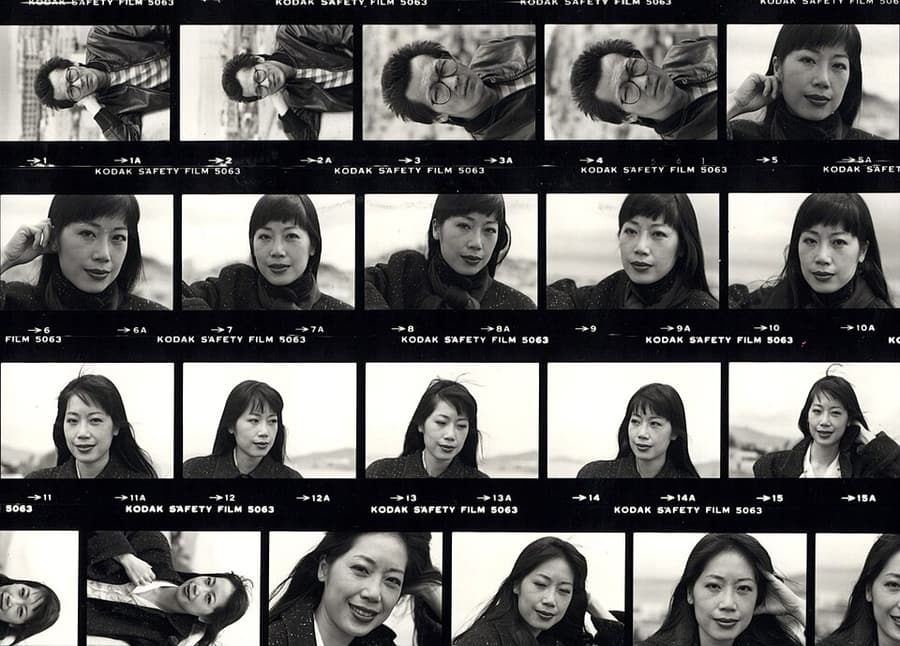
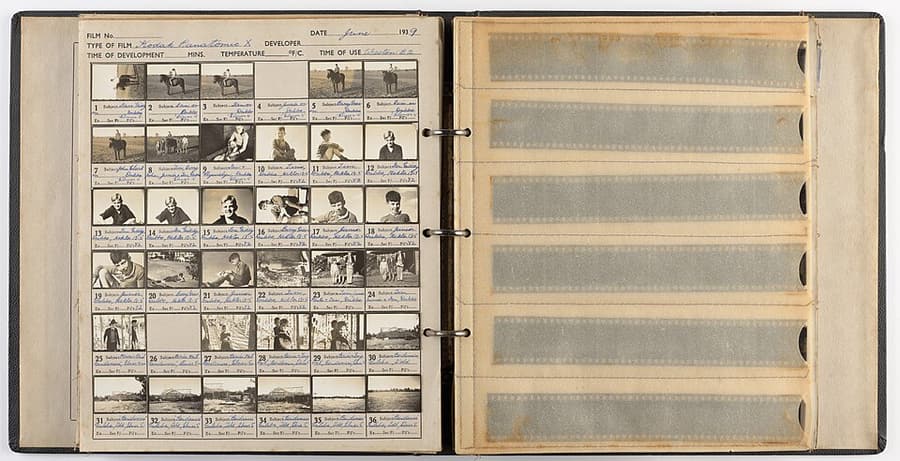
A series can be connected by person, place, question, motif, palette, distance, or time structure. Consistency does not mean every photograph looks the same: there must be enough repetition to establish one world and enough variation for that world to develop. A proposal makes the project feasible by defining question, context, access, participants, visual approach, output, schedule, cost, and risk. After each shoot, contact sheets and a list of missing coverage should determine the next session.

Key takeaways
- Maintain a recognizable visual language without repeating the same frame
- Combine information with feeling
- Let each photograph stand alone while gaining meaning beside the others
- Build consent and access as ongoing relationships, not one-time paperwork
- Review regularly for gaps in scale, viewpoint, participants, and time
- Leave room for discoveries that change the original proposal
Practical example
An essay about a bus route might repeat windows, cool color, and close distance while covering the first stop, driver, passengers, tickets, rush hour, landscape through glass, and final stop. The motif links the story; varied people and time keep it from becoming a pattern exercise.

Common mistakes
- Using one color grade as the only source of unity
- Collecting strong individual images that do not explore one question
- Writing an idea without practical access, schedule, or output
- Returning repeatedly but making the same safe frame
- Treating participants as illustrations rather than collaborators with expectations

Knowledge check
Lesson 04
Selecting and Sequencing a Visual Story
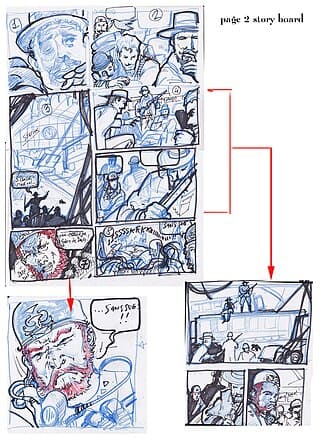
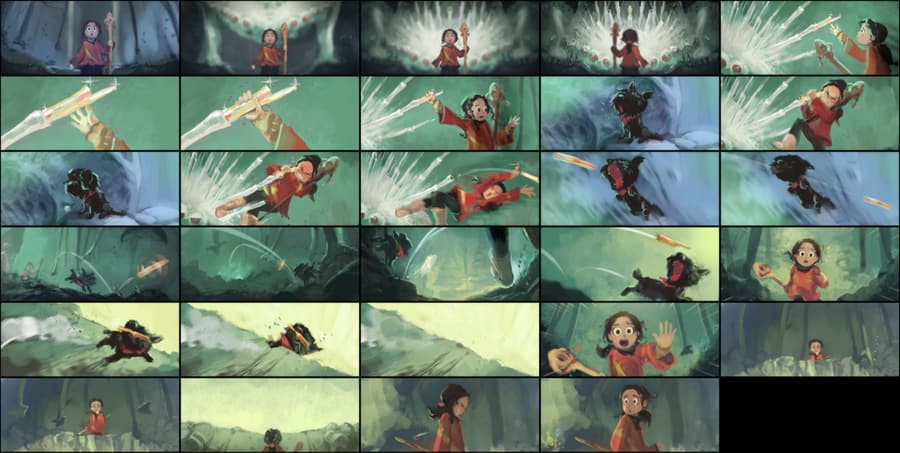
A sequence may follow time, space, cause and effect, a person, or visual association. The opening makes a promise; middle frames establish context, change, and tension; a climax concentrates information or emotion; the ending closes the arc or leaves a purposeful echo. Every pair of photographs creates additional meaning. Gaze can pull toward the next page, repeated shape or color can bridge scenes, and an abrupt wide-to-close transition can emphasize a moment. Consider spreads when the final output shows two images together.
Key takeaways
- Open with curiosity or orientation rather than automatically using the strongest frame
- Alternate wide/tight and dense/quiet frames to shape rhythm
- Avoid adjacent images with nearly identical silhouettes or information
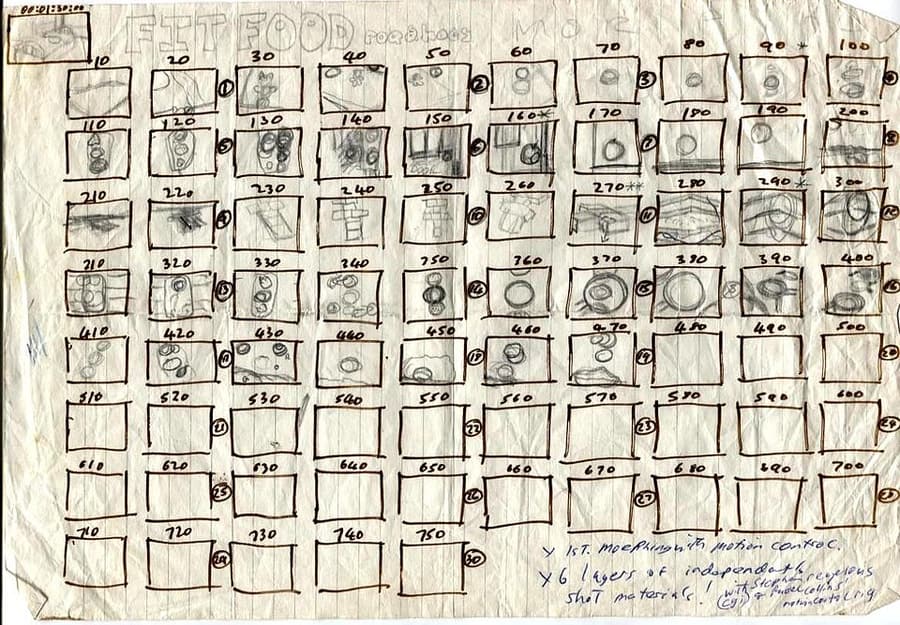
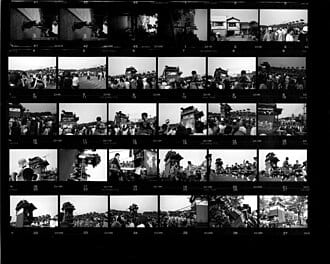
- Use thumbnail view to inspect overall light and color rhythm
- Sequence for the viewer's experience, not capture time or difficulty
- Choose an ending that creates closure or a deliberate unresolved feeling
Practical example
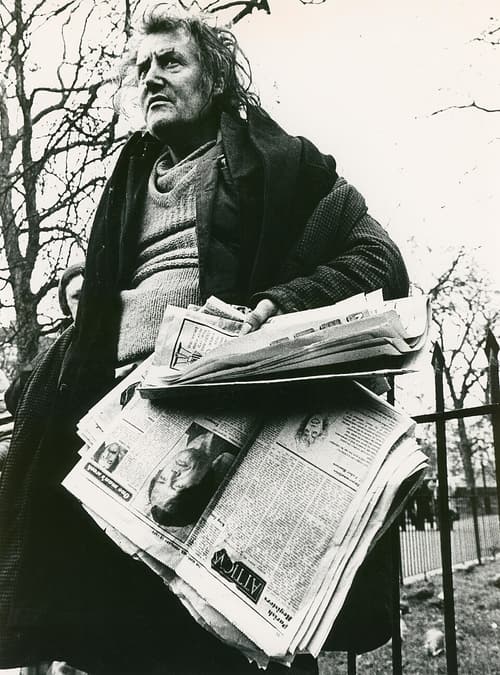
A portrait looking right can lead into a space shown on the next frame. Two intense close-ups may need a wide quiet image between them. If the strongest image appears first, later frames may feel weaker; placing it after supporting evidence can increase its meaning.
Common mistakes
- Leaving images in filename or capture-time order
- Placing every powerful image at the beginning
- Using captions to rescue a sequence that cannot connect visually
- Creating accidental jumps in color or brightness between neighboring frames
- Testing only on screen when the final format is a book or slideshow
Knowledge check
Lesson 05
Removing Photographs That Do Not Serve the Story
Culling chooses the best frame from variations; editing decides what belongs to the story and where. Review thumbnails first to reduce the pull of sharpness and attractive color, then inspect full size when choosing among direct competitors. Every photograph should have a named role: orient, introduce, provide evidence, transition, create feeling, climax, or conclude. If two images perform the same role, keep the one with clearer information and a stronger relationship to its neighbors.
Key takeaways
- Remove duplicate functions, not only duplicate compositions
- Prioritize clarity and story over demonstrations of technique
- Temporarily hide a favorite image and test whether information is truly lost
- Keep rejected photographs available for later review without mixing them into the main edit
- Use rejection reasons to identify coverage that must be photographed again
- Rest before the final edit to reduce attachment to the experience of making the image
Practical example
Two frames show a craftsperson hammering. Keep the one with clearer gesture and context even if the other has more attractive color. A quiet photograph of the workbench after the shift may remain because it shows consequence and makes a strong ending.
Common mistakes
- Keeping an image because of a difficult or memorable behind-the-scenes experience
- Retaining several variants to avoid choosing
- Removing a necessary quiet frame because it is not dramatic
- Rejecting a unique moment for a small technical flaw without considering its role
- Asking for feedback without explaining the story question and output