Chapter 07
Genre Practice
Explore different situations to discover the genres that fit you.
Complete focused mini-shoots and identify one or two genres to pursue deeply.
Choose two genres each week and finish three photographs for each genre.
Lesson 01
Portrait Photography
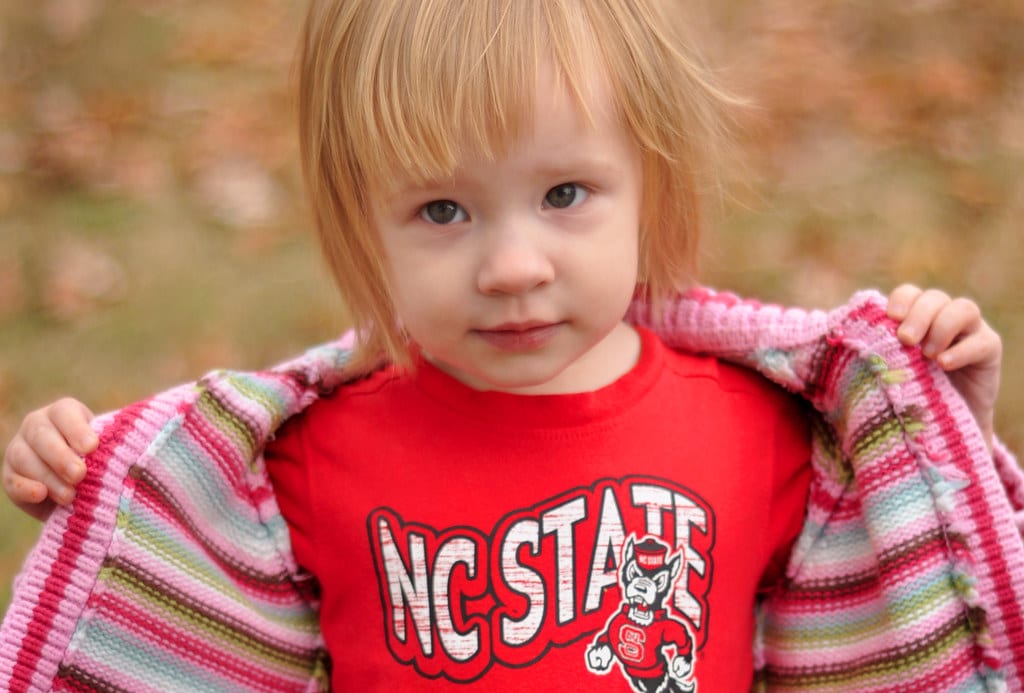
A strong portrait combines light, expression, posture, and context to say something about a person. Before the session, understand what the subject wants to communicate, where the image will appear, and what makes them comfortable. During the shoot, keep talking and give small, actionable directions rather than asking for a generic “pose.” Technically, prioritize the eyes, light on the face, and a background that supports rather than competes. Close portraits often work well between 50–135 mm, while 24–35 mm can include meaningful environment if you avoid an excessively close viewpoint.
Key takeaways
- Focus on the eye nearest the camera when depth of field is shallow
- Give movement-based prompts instead of holding stiff poses
- Select an aperture deep enough for the head angle and number of people
- Use a shutter speed fast enough for expression and gesture
- Check hands, clothing, frame edges, and background between short sequences
- Explain intended use and maintain informed consent throughout the session
- A headshot prioritizes eyes and expression, with room for the intended crop. Half-body framing usually cuts near the waist or torso rather than through an elbow. Full-body framing retains feet and breathing room and checks where the horizon crosses the person.
- An environmental portrait retains meaningful clues about work or home. A candid portrait records natural action within an agreed use: give a simple task, talk, and wait for expression rather than holding a smile indefinitely.
- Couple photography depends on interaction: invite a slow walk, a shared task, or eye contact. Keep eyes at similar distances when both must be sharp. Ask what gestures feel comfortable instead of assuming every couple wants an embrace or kiss.
- For group photography, arrange shallow rows with visible faces. Try f/5.6–f/8 as distance allows, focus within the group’s depth, and inspect both nearest and farthest rows. A short burst helps with open eyes but cannot replace adequate depth of field.
- Direct posing one action at a time: shift weight, relax shoulders, move the chin slightly toward the camera, and give hands a task. Begin at eye level, then compare small height changes; avoid an unintentionally foreshortened body or emphasized chin.
- Compare 35/50/85 mm on full-frame at the same face size: 35 mm includes more environment and requires a closer position; 85 mm requires more working distance and includes less background; 50 mm sits between. Facial proportions change mainly because camera distance changes.
- Background separation combines subject–background distance, color, brightness, light direction, and aperture. Move the person away from the background and find a clean area behind the head before deciding whether to open the aperture further.
- Catchlight is the light source reflected in an eye. Turn the face slightly toward a window or reflector to obtain a comfortable reflection. Keep eyes lively without overbrightening the whites.
- For skin tone on location, choose a dominant light, avoid colored-wall bounce, record a gray card under the same illumination, and check the red channel for clipping. Do not force different complexions into one orange hue or brightness formula.
- For portrait backlighting, place sunlight behind the hair, expose for skin, and inspect the rim. Add reflector/fill if the contrast is excessive. For an intended silhouette, meter the background and separate the pose clearly.
- A night portrait needs a shutter fast enough for the person: try 1/125–1/250 second and adapt to movement. Raise ISO or add light rather than relying only on IBIS. With slow sync, ask for stillness and inspect ambient movement ghosts.
- Natural light offers a simple working rhythm but changes with weather. Flash offers controlled direction and output but adds sync, recycling, and communication needs. Compare frames with similar skin brightness to judge modeling and catchlight.
Practical example
A five-image portrait of a ceramic artist might include the workshop, hands shaping clay, a working half-length portrait, a direct close portrait, and a relaxed conversation moment. Consistent light and color tie the different scales together while each image adds information. For a couple beside a window, begin with individual 50 mm headshots, half-body conversation, and full-body environmental frames. Compare 35/50/85 mm, moving to retain face size and recording actual distance. Keep both people near one plane, try f/4, and stop down if the farther eye is soft. Turn them toward the window for catchlights and use a white reflector for later backlighting. Finish with a shallow 3–4-person group, inspecting eyes at both ends and the greatest distance.

Common mistakes
- Watching the subject but missing a pole or bright object behind the head
- Giving vague directions that make the subject tense
- Shooting every frame at f/1.4 and losing the intended eye or group member
- Retouching away real skin texture and identifying features
- Failing to explain how and where the photographs will be used
- Arranging deep rows, focusing one eye, and assuming the whole group is sharp
- Cropping through joints or feet, merging hands into the body, or placing faces near a wide-angle frame edge
- Choosing 85 mm without working room or moving a 35 mm lens too close for a tight headshot
Knowledge check
Lesson 02
Street Photography
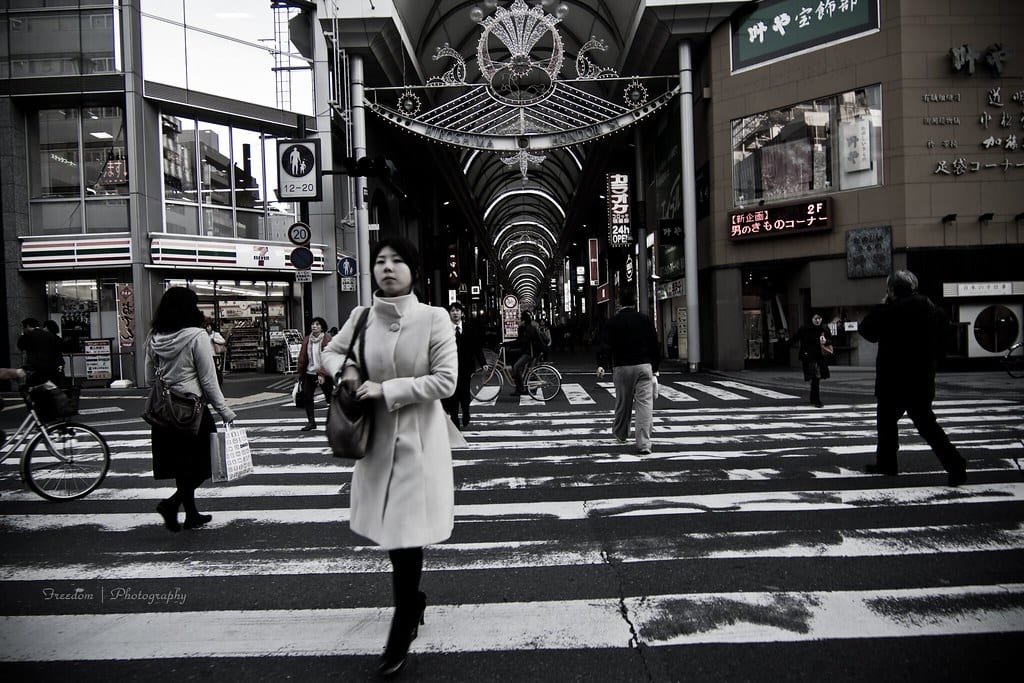
Street photography explores relationships between people, light, and public space. Read the stage before searching for a “stranger”: find where light falls, how geometry organizes the scene, which behavior repeats, and what may happen next. Pre-set exposure and wait for gesture or interaction to complete the frame. Law varies by place and use, and legality is not the only standard. If someone objects, communicate calmly and be willing to stop or delete when appropriate. Do not turn vulnerability or discomfort into the price of an image.
Key takeaways
- Select a promising background and wait for action to enter it
- Use AF-C, Auto ISO, or zone focus to reduce delay
- Gestures and relationships often tell more than an isolated silhouette
- Separate the decision to press the shutter from the decision to publish
- Consider caption, context, and possible harm, not only the frame itself
- Respect a reasonable objection even when you believe photography is legally allowed
- A decisive moment joins meaningful gesture and frame structure. Observe recurring steps, prepare the background, and wait for separation; high fps alone cannot create meaningful relationships.
- For a street portrait, briefly ask, explain the purpose, and offer a natural action. Candid street observes an unstaged situation. Do not describe a directed picture as entirely spontaneous.
- Street geometry uses walls, road markings, and shadows as structure. Street layers require near, middle, and far subjects without obscuring important information. Choose position and wait for clear gaps rather than relying only on a small aperture.
- For street silhouette, expose for a bright background and wait until the outline separates from walls, accepting dark facial detail intentionally. For street motion, freeze a gesture or use panning/slow exposure to express flow while retaining a visual anchor.
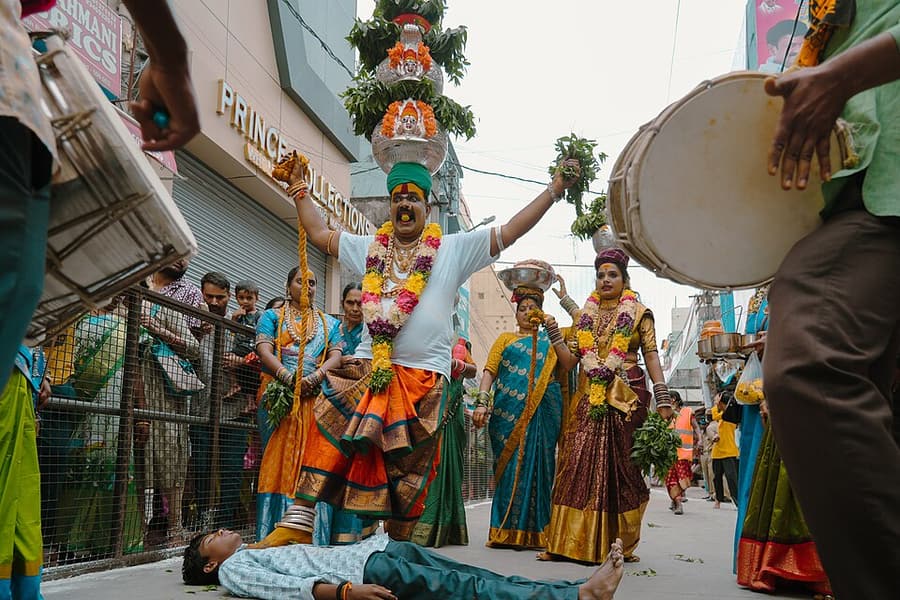
- Travel documentary combines establishing views, people at work, action, and detail. With agreement, record accurate names, place, time, and context. Do not invent a life story from appearance; sequence 5–8 frames that each add information.
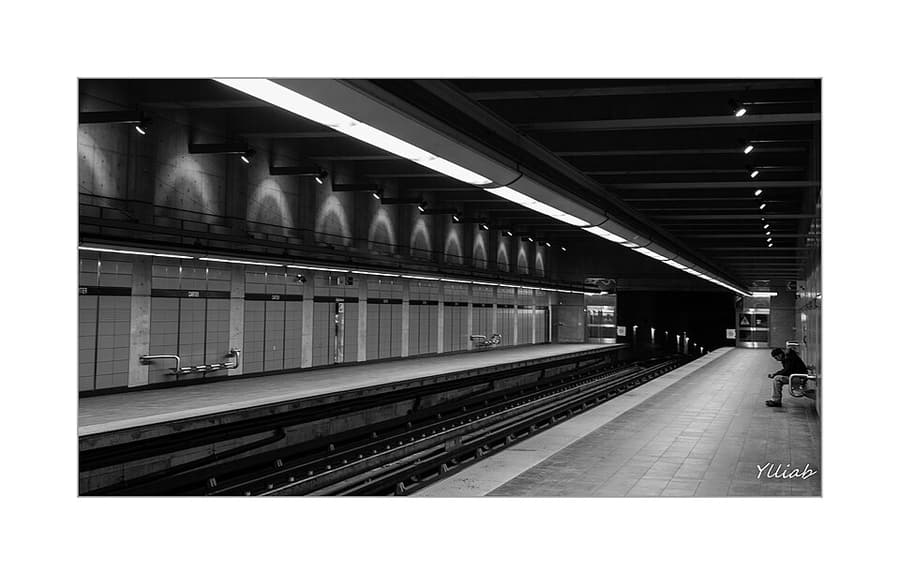
- For low-light street, find a stable source such as a shop window, set a shutter for people first, then open aperture/raise ISO. Compare 1/250 second with a deliberately blurred frame. Inspect LED skin color and illuminated signs rather than lowering shutter just for low ISO.
Practical example
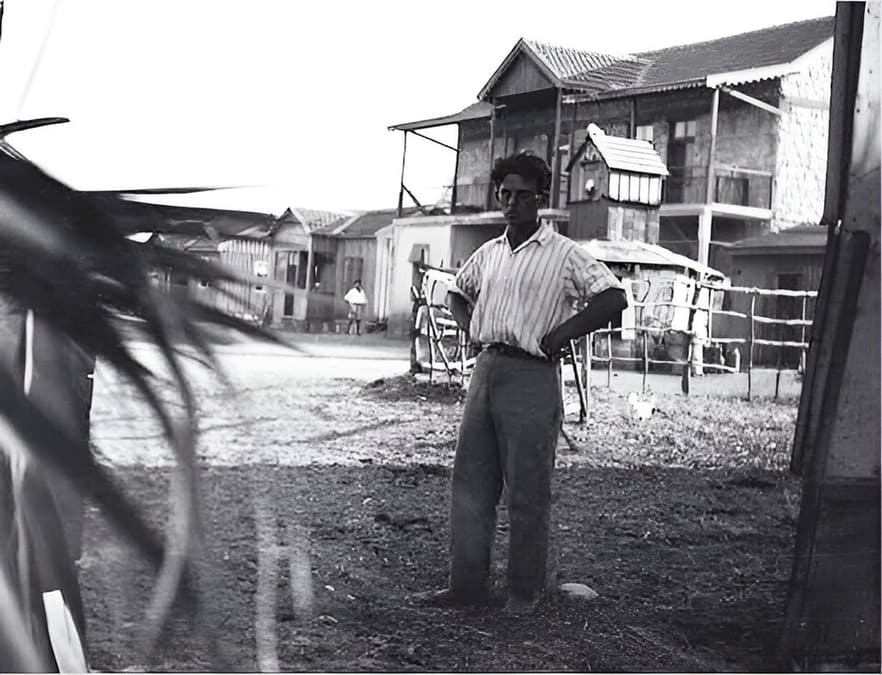
Find a patch of sunlight on a wall, meter for the light, use about 1/500 sec for walking subjects, and choose enough depth of field for timing error. Watch several cycles of foot traffic and make a short burst only when the figure separates cleanly from edges and other people. At a bakery stall, a wide frame locates the corner, a medium view shows service, a detail records wrapping hands, and an ending follows a departing customer. Wait for hands and package to separate for the moment. If you invite the seller to face the camera, identify that as a directed portrait. At night prioritize hand movement and use stall lighting rather than an unexpected flash.
Common mistakes
- Walking constantly and never allowing a moment to develop
- Raising the camera before exposure and focus are prepared
- Shooting only from far away to avoid any interaction
- Treating another person's discomfort as proof of authenticity
- Publishing a sensitive image without considering caption and consequence
Knowledge check
Lesson 03
Landscape and Travel Photography
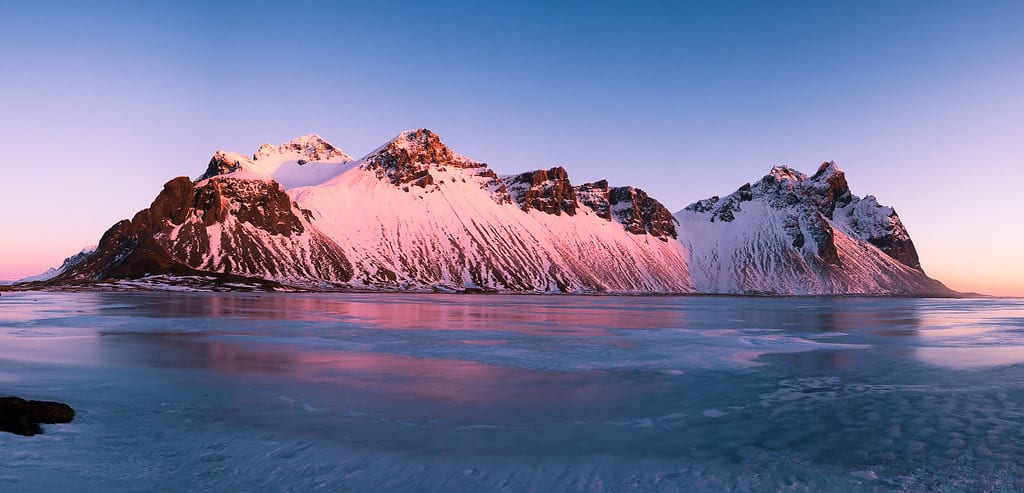
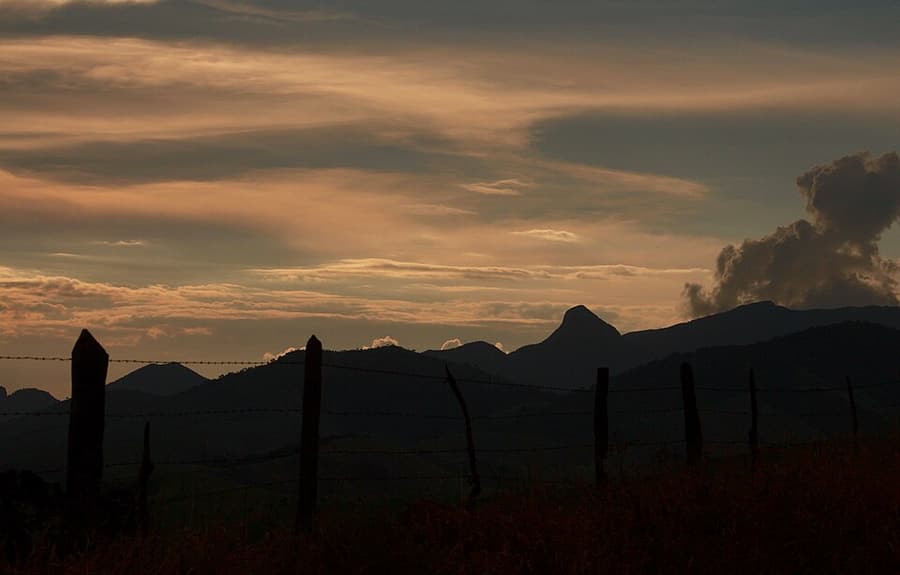
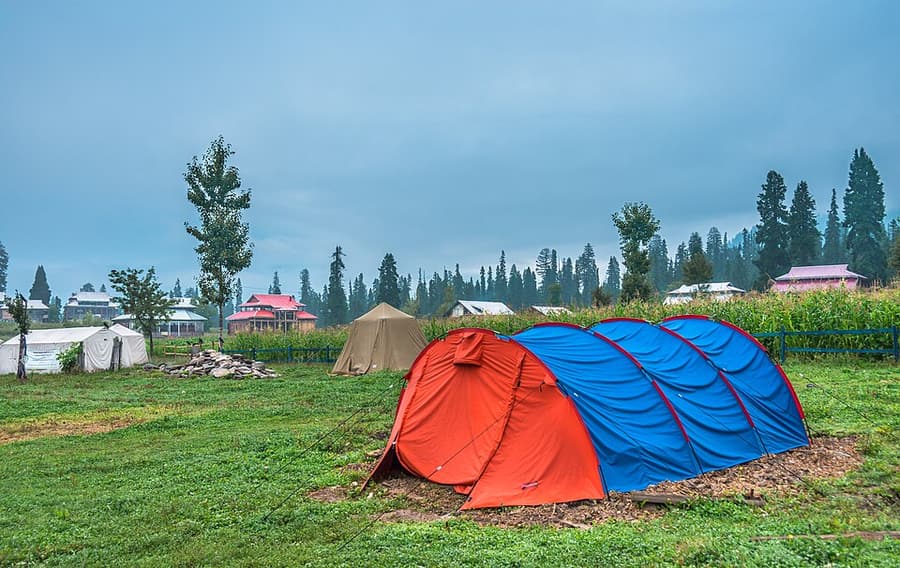
Landscape work combines suitable light, spatial structure, and technical control. Research weather, sun direction, tides, access, and safety, then respond to the actual clouds, wind, and light on location. Choose a viewpoint and layer relationship before deciding on focal length, tripod, filters, or bracketing. Travel storytelling also needs evidence of life and place: an establishing view, people for scale, materials, food, signs, and moments unique to the location. A recognizable landmark alone does not create a sense of being there.
Key takeaways
- Scout light direction, weather, access, and safety before the ideal time
- Choose viewpoint and spatial layers before automatically reaching for a wide lens
- Use foreground only when it guides the eye or adds information
- Wind, water, foliage, and people determine shutter speed even on a tripod
- Protect important highlights while retaining the intended atmosphere in shadows
- Follow paths and local rules; never damage a landscape for a composition
- HDR/exposure bracketing works only when camera and scene are stable; lock white balance, aperture, and focus before making the series
- Manual exposure blending with masks is often more natural than overdone HDR because it retains only the highlight or shadow detail the image needs
- Panorama and vertorama need fixed exposure, white balance, and focus plus roughly 30–50% overlap; avoid very near foreground to reduce parallax errors
- A wide-angle landscape needs a close, meaningful foreground that leads toward distant layers without hiding them. Use rock, shoreline, or water patterns for foreground interest, inspect the corners, and begin around f/8–f/11 rather than defaulting to f/22.
- For seascapes, assess tides, waves, and an exit from a safe position before setting up. Use dry footing, remain aware of the sea, and abandon a frame in large waves. Compare fast shutters for droplets, 1/4–1 second for receding patterns, and several seconds for smoother water, adapting to the wave rhythm.
- For waterfall long exposure, compare 1/4, 1, and 2 seconds to choose textured strands or smoother flow. Use low ISO, moderate aperture, and a stable tripod; add ND only when light prevents the intended shutter speed, and retain a sharp stationary rock as an anchor.
Practical example
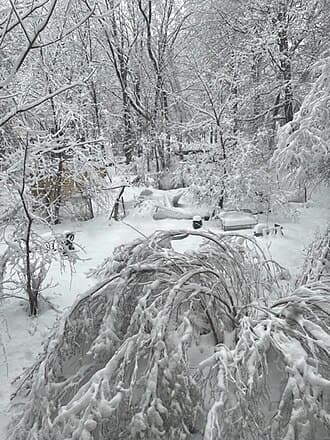
A coastal story might open with shoreline and weather, move to a walker for scale, show wet-rock texture, and finish with a local object or human trace. Those images add different information rather than repeating four postcard views of the same landmark. When sky is much brighter than land, make a `-2 / 0 / +2 EV` tripod series, then merge it as HDR or use masks to recover only the sky. For a panorama, rotate smoothly with 30–50% overlap; a vertorama is especially useful when you need both a broad foreground and a high peak or building without an extremely wide lens. At wet coastal rocks, level the horizon, use a rock as foreground, and wait for receding water to lead toward the background. Compare 1/250, 1/2, and 4 seconds from one safe position. At a waterfall, retain sharp rocks while comparing three water textures; an excessively long exposure can erase texture and blur leaves.
Common mistakes
- Using only an ultra-wide lens and making every subject tiny
- Arriving at good light without a safe, tested viewpoint
- Stopping down excessively despite diffraction or moving foliage
- Raising shadows until weather and depth disappear
- Moving rocks, plants, or leaving a trail to “improve” the scene
Knowledge check
Lesson 04
Architecture Photography
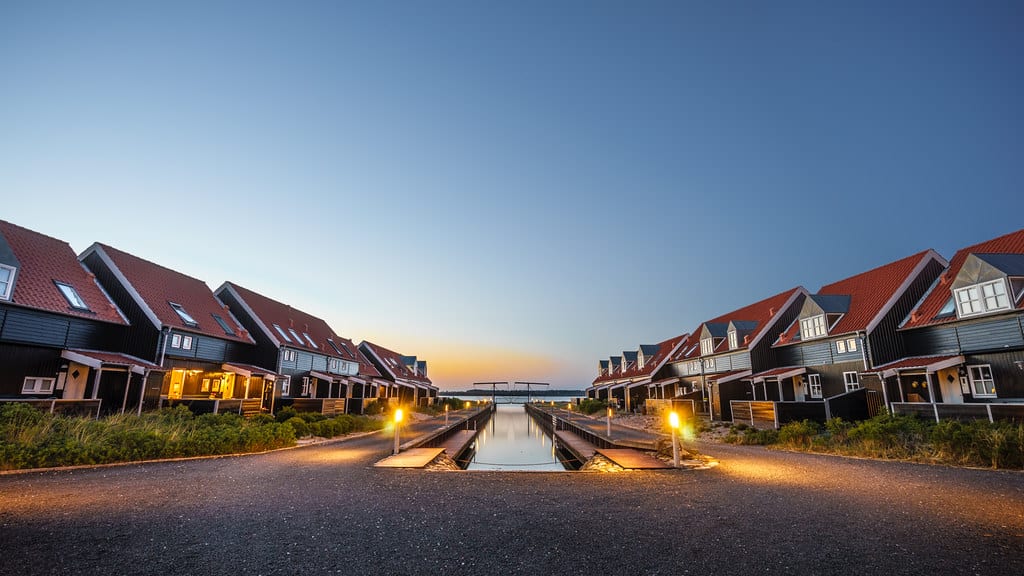
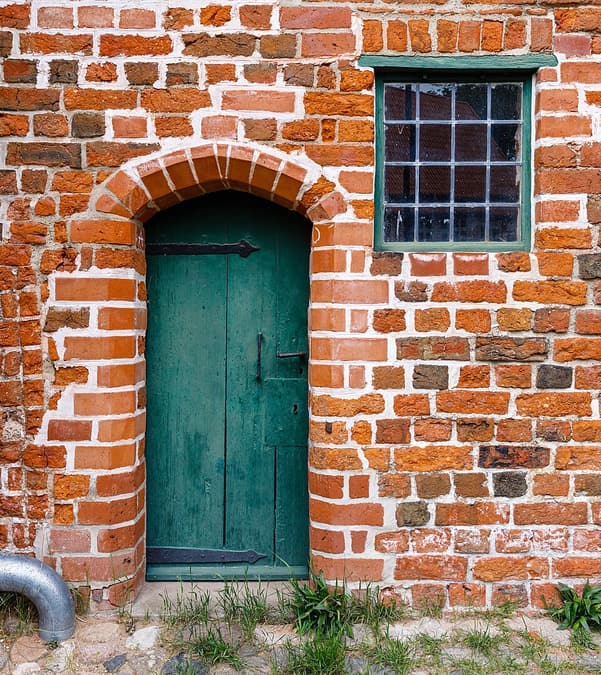
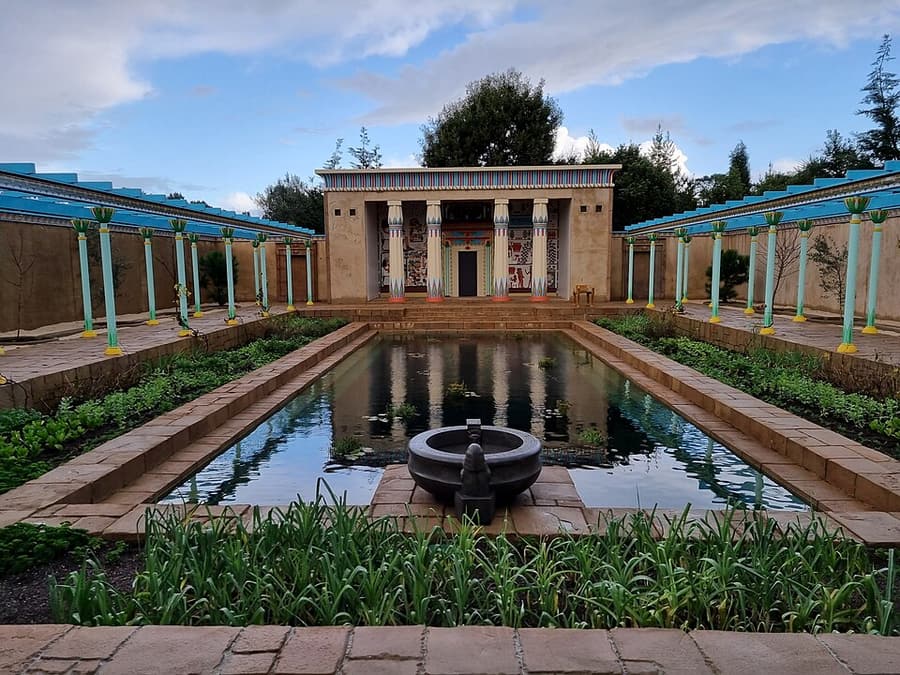
Architecture photographs can document accurately, interpret geometry, or show how people use space. Documentary frames prioritize straight lines and faithful materials; expressive frames may use shadows, reflections, diagonals, and abstraction more strongly. Camera position shapes the result. A centered view emphasizes symmetry, 45° reveals volume, and a low view can make a structure imposing. Keep the sensor vertical for parallel building lines; if tilting is unavoidable, leave room for perspective correction.
Key takeaways
- Decide whether accuracy, form, material, or human use is the primary story
- Level and center the camera when exact verticals and symmetry matter
- Side light reveals surface texture and structural relief
- Longer focal lengths isolate patterns; wide lenses demand edge control
- A person can communicate scale and use without becoming the main subject
- Check property, tripod, and security restrictions before working
Practical example
For a bright-windowed lobby, place a tripod on the center axis and bracket exposures if necessary. Wait for a person to enter without blocking important lines; a slightly slow shutter can describe movement through space while keeping architecture stable.
Common mistakes
- Leaving verticals slightly tilted through careless alignment
- Stretching the structure unnaturally with extreme transform correction
- Placing people near ultra-wide edges where they become elongated
- Removing every person and losing scale or function
- Blocking access or using a tripod where it is prohibited
Knowledge check
Lesson 05
Product and Food Photography
Begin with the brief: audience, key benefit, required color accuracy, platform, and crop. Clean the product, align labels, fix packaging edges, arrange fabric, and protect food freshness before changing lights. Small physical errors are usually slower to repair later. With glossy objects, the camera records reflected surroundings. A large diffusion surface creates a broad highlight; black cards define dark edges; changing product or camera angle moves the reflection without adding power.

Key takeaways
- A large source creates smooth gradients on matte and reflective surfaces
- White and black cards control reflection shape and edge definition
- Styling must support rather than overpower the main product
- A tripod supports label alignment, focus stacking, and consistent variants
- Use a gray card or color target when brand or food color must be accurate
- Tethered viewing reveals dust, scratches, and poor reflections early
Practical example
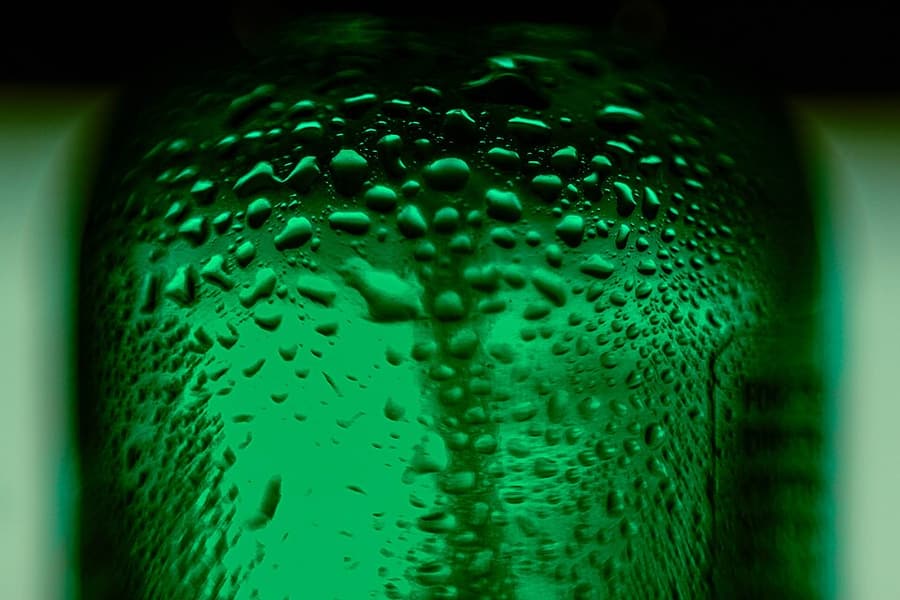
A glass bottle needs long reflected strips: place large diffused sources at the sides and black cards near the edges. For food, side or backlight reveals moisture and texture while a front reflector retains shadow detail. Prepare with a stand-in and bring the fresh dish only when the set is ready.
Common mistakes
- Using a tiny bare source that creates unattractive specular dots
- Adding props that are more colorful or important than the product
- Lighting before cleaning dust and aligning the label
- Choosing a camera angle that misrepresents the product's shape
- Ignoring color management when brand color is critical
Knowledge check
Lesson 06
Sports, Action, and Wildlife
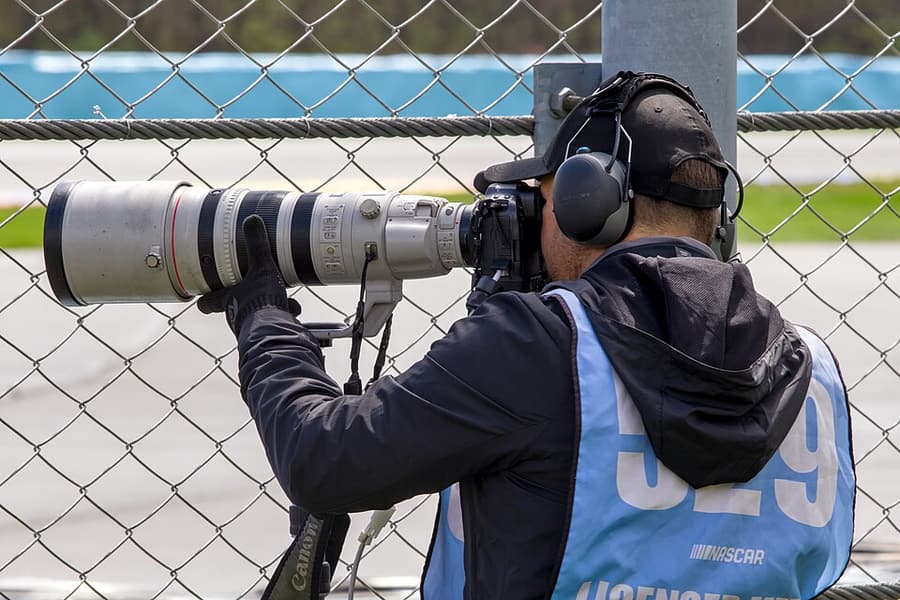
Knowledge of the sport or animal behavior is as important as camera speed. Repeated actions, direction changes, and warning gestures let you select a safe position, clean background, and focus zone before the peak moment. A useful starting setup is AF-C, suitable subject detection, moderate burst, an intentional shutter speed, and bounded Auto ISO. A short burst starting just before the peak is more effective than holding the shutter through the entire event.
Key takeaways
- Predict the peak and pre-focus the action zone when possible
- Use AF-C and controlled bursts rather than relying on frame rate alone
- Fast shutters freeze action; slow shutters can express it through panning
- Select a clean background before the subject arrives
- Leave space in the direction of travel unless confinement is intentional
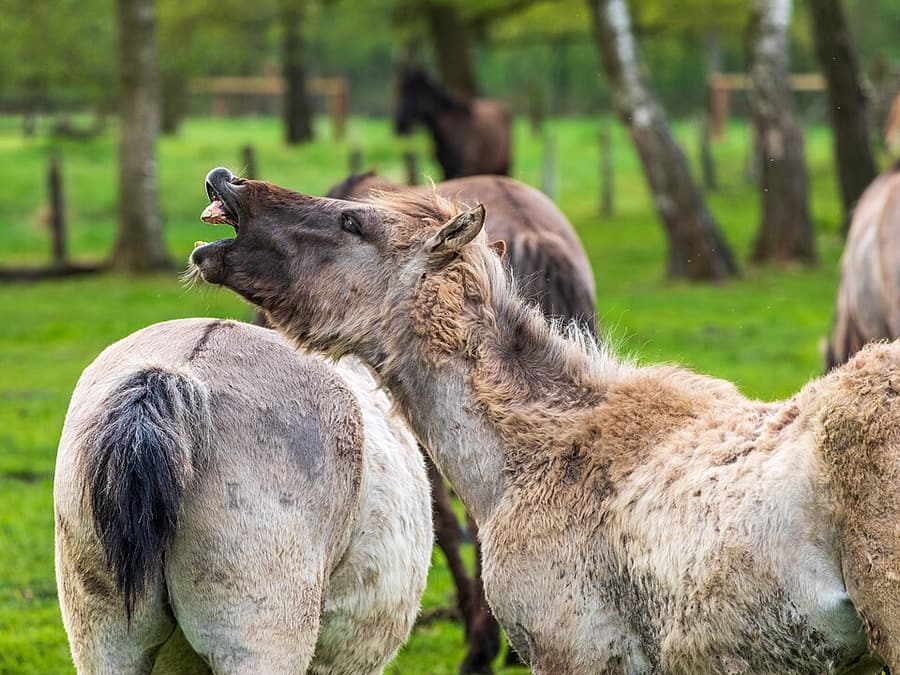
- With wildlife, maintain distance and never change behavior to obtain a frame
- Burst shooting records consecutive frames for selecting the action phase. Begin a short burst before the peak and monitor buffer capacity and card-writing time. AF-C, shutter speed, and an uninterrupted view matter more than simply selecting the highest fps.
Practical example
At a running curve, body lean and a foot clear of the ground produce a stronger moment than an ordinary straight section. Acquire the runner early and make a 3–5-frame burst through the apex. For panning, rotate from the hips and continue after the exposure.
Common mistakes
- Holding a long burst without predicting the peak
- Choosing an unsafe viewpoint or blocking participants
- Using depth of field too thin for tracking error
- Cutting hands, feet, or equipment at awkward joints
- Checking only the first frame and missing focus drift through the sequence
Knowledge check
Lesson 07
Macro and Close-up Photography
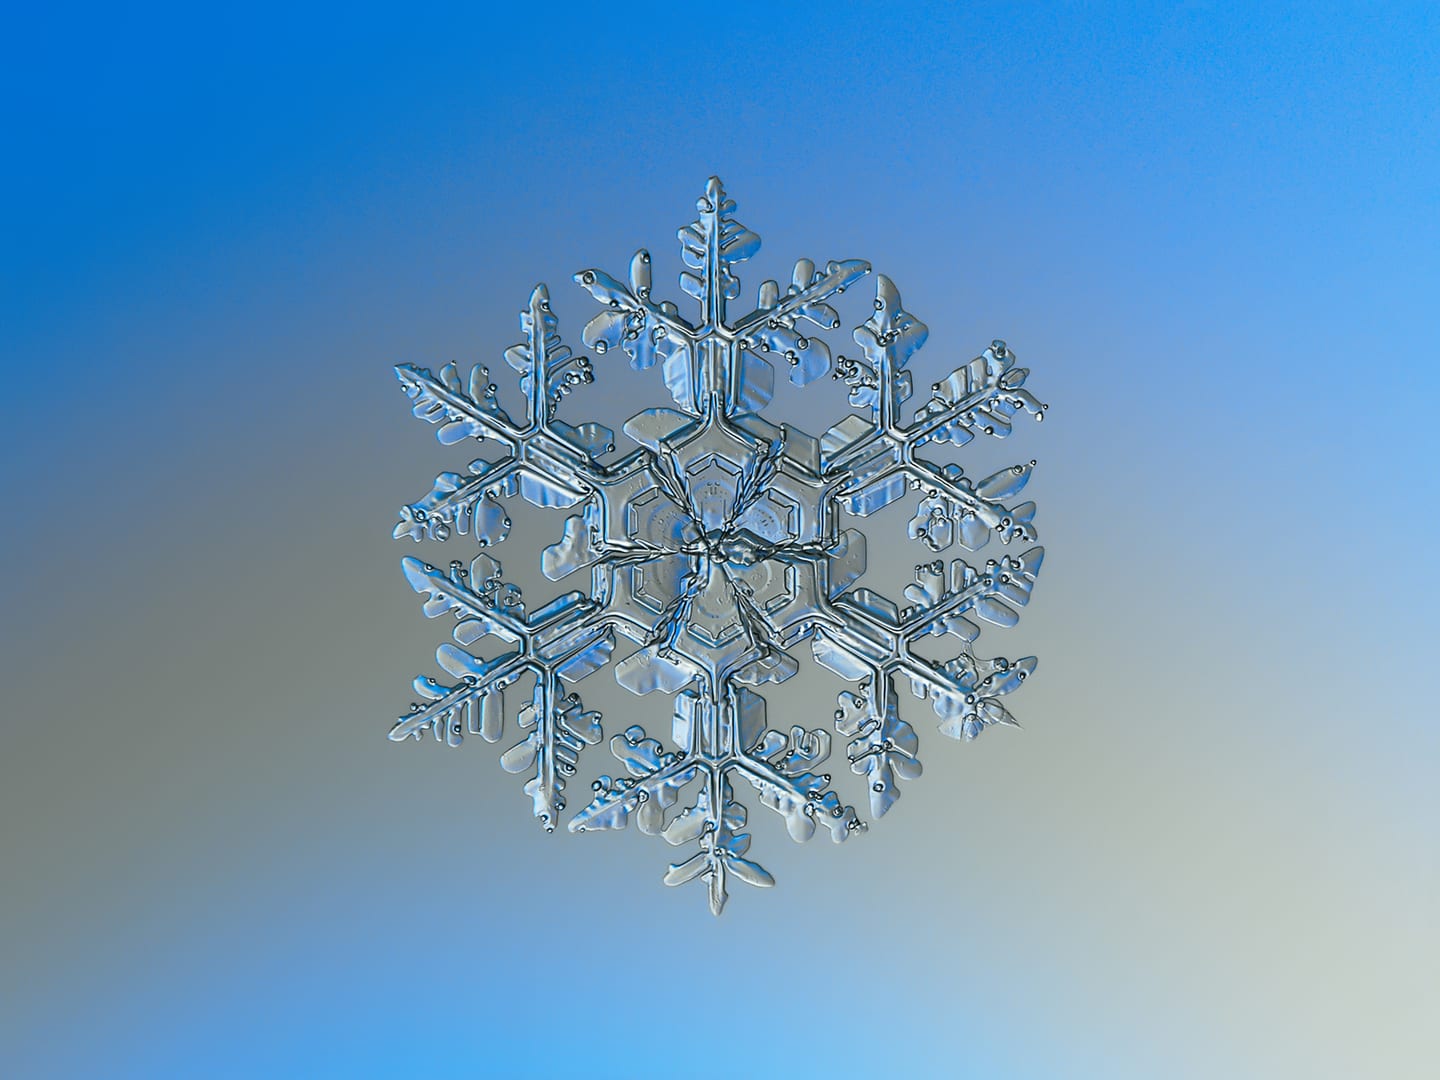
At high magnification, a movement of a few millimeters can displace the focus plane. Stopping down increases depth of field but reduces light and eventually introduces diffraction. Stability, diffused light, and focus stacking are often better answers than the smallest aperture. Working distance affects lighting and living subjects. Longer macro lenses allow more distance from insects but are harder to stabilize. Never chill, restrain, or damage a habitat to arrange a photograph.
Key takeaways
- Align the sensor plane with the surface that needs to be sharp
- Stop down moderately and add light rather than automatically using the minimum aperture
- Move the camera minutely for manual focus at high magnification
- A diffused low-power flash can freeze camera and subject movement
- Keep the background distant and simple
- Focus stacks require overlapping focus planes and a stationary subject
Practical example
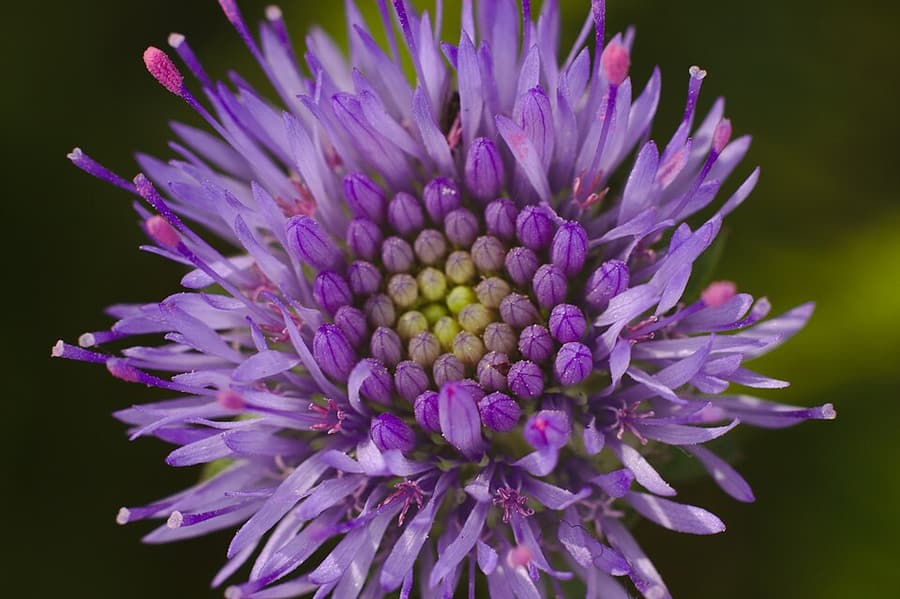
For a flower's stamens, place the sensor nearly parallel to the detail layer, diffuse the light, and shield the subject from wind. On a tripod or beanbag, focus manually and shift the camera in small increments from the nearest to farthest detail while keeping exposure and white balance fixed.
Common mistakes
- Stopping down to the minimum and creating diffraction or shake
- Keeping the background close enough to remain distracting
- Using a small bare source that produces harsh specular highlights
- Leaving large gaps between focus-stack frames
- Touching or harming living subjects to control their position
Knowledge check
Lesson 08
Night Photography
Human vision adapts to darkness, so a scene may appear to contain more shadow detail than one exposure can hold. Decide which lights must retain detail, which shadows may become silhouettes, and which moving elements should freeze or trail. Safety comes before settings: scout in daylight, stay clear of traffic, carry a small light, keep equipment compact, and tell someone where you are. On a tripod, use a timer or remote and watch for wind, vibration, and pedestrians.
Key takeaways
- Protect important signs, lamps, and color channels from clipping
- RAW and RGB histograms offer more editing and exposure control
- Use a tripod for low ISO and long exposure; handheld work needs a safe shutter speed
- Fixed white balance keeps a night series consistent
- Bracketing helps static high-contrast scenes but moving people and cars may ghost
- Darkness is part of the composition and does not need to be raised to gray
- Light painting needs a fixed camera and exposure plus a continuously moving light source to avoid burnt hotspots
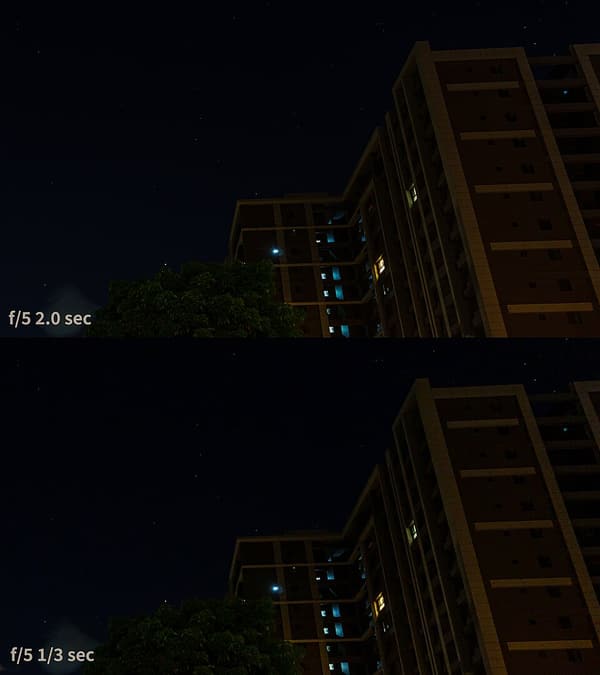
- Astrophotography prioritizes a tripod, wide aperture, accurate star focus, and histogram checks; do not shine light at people or into the dark sky
- Star trails are often made from consecutive long frames so gaps, vibration, aircraft, and car lights can be managed frame by frame
- Point-star astrophotography differs from star trails. Choose a clear, darker sky and limited moonlight for faint stars, manually focus a magnified star, and recheck as temperature changes. For a full-frame wide view, try 5–15 seconds, a wide aperture, and ISO 1600–3200, then inspect; this is only a starting point for your lens, sky, and output.
- The 500 rule does not guarantee round stars: resolution, sky direction, and viewing enlargement affect visible trails. Inspect at 100%, shorten exposure for elongated stars, and consider multiple frames for noise reduction.
- Cityscapes and night cityscapes need intentional timing, unclipped lights, and readable layers. From a fixed position, photograph sunset, blue hour, and darkness, protecting signs and bracketing still scenes when needed rather than lifting every shadow.
Practical example
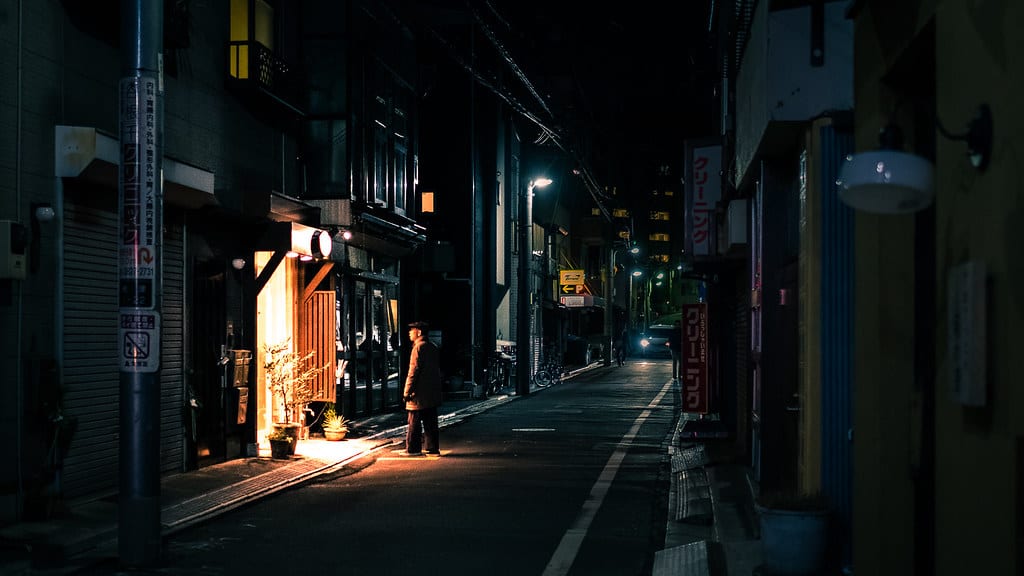
For a neon street scene, expose so the sign remains legible and check the red channel, which may clip before the overall histogram. For light trails, begin near ISO 100, f/8, and 5–15 seconds. Change time to control trail length, not merely brightness. For light painting, use a tripod and a several-second exposure against a dark background, then draw from the side or behind rather than aiming the light into the lens. For stars, manually focus on a bright star using magnified live view; for star trails, hold camera position and make a continuous sequence with fixed white balance, aperture, and the shortest practical interval.

Common mistakes
- Lifting every shadow until the night atmosphere disappears
- Standing in an unsafe location or blocking a path with tripod legs
- Using Auto WB and getting inconsistent color across the series
- Touching the camera during a long exposure
- Choosing a tiny aperture for starbursts without considering diffraction or sensor dust